
Choosing a Mini Split System for 1000 sq ft: The Complete Sizing & Buying Guide
A comprehensive breakdown of equipment tiers, labor factors, and hidden considerations for cooling and heating your space efficiently.
EXPLORE BUYING FACTORSKey Takeaway: For a 1000 sq ft home, a ductless mini split installation typically sits in the mid-range investment tier. A high-efficiency, multi-zone system from premium-tier brands pushes into the luxury tier, but delivers superior comfort and long-term energy savings.
Investment Breakdown at a Glance
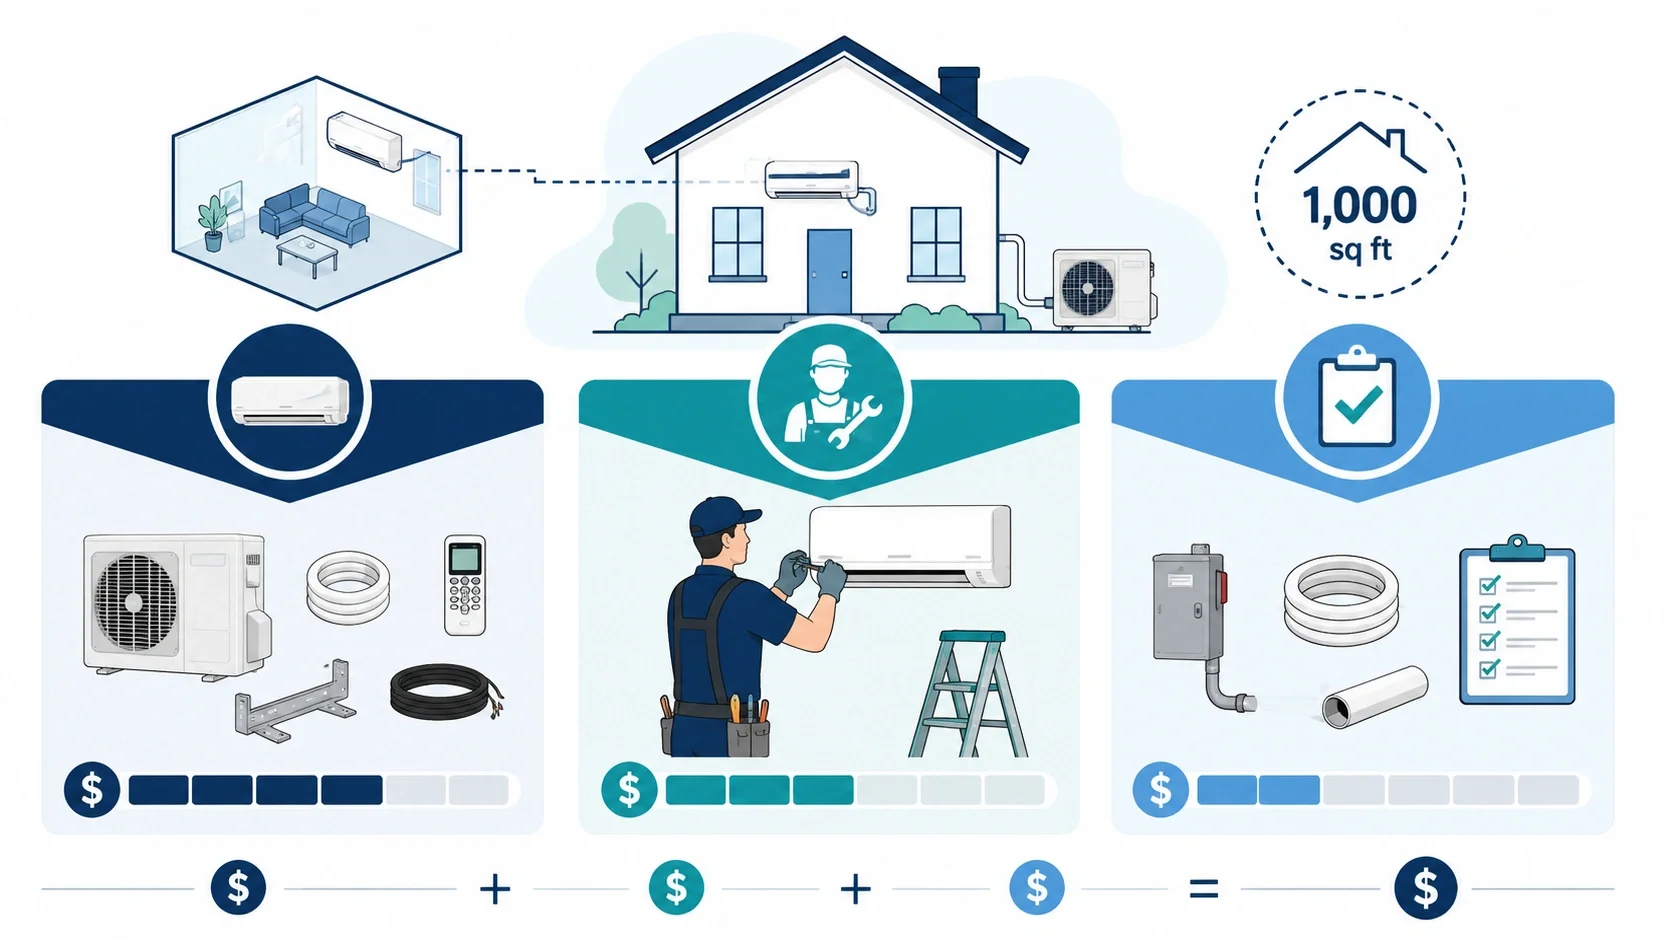
Understanding how the investment splits between equipment, labor, and extras is the first step in making a smart decision. The overall tier of a mini split for a 1000 sq ft area isn't a single figure; it's a combination of hardware class, installation scope, and potential extras. Here is the realistic tier breakdown you can expect based on current market positioning.
- 24,000 BTU (2-Ton) Unit Mid-range
- Linesets, Cables, & Mounts Entry-level
- Smart Thermostat/Wi-Fi Kit Entry-level
- Basic Labor (5-8 hours) Mid-range
- Electrical Work (new circuit) Mid-range
- Conduit, Pad, & Finishing Entry-level
- Removing old system Mid-range
- Wall penetration & repair Entry-level
- Permits & Inspection Entry-level
Sizing a Mini Split for 1000 Square Feet
Before we dive deeper into buying factors, it’s crucial to understand that the biggest factor influencing your overall investment tier is the size of the system. An incorrectly sized system can lead to poor performance and wasted energy. For a home of this size, a single 24,000 BTU (2-ton) unit might be sufficient for an open-concept layout, but a more compartmentalized space often benefits from a multi-zone system, such as an 18,000 BTU unit for the main living area and a 9,000 BTU unit for a primary bedroom. This approach sits in a higher investment tier but maximizes comfort and efficiency for each room.
Pro Tip: Don't guess on sizing. A professional Manual J load calculation is the gold standard for determining the precise cooling and heating needs of your specific home. Factors like ceiling height, window size and orientation, insulation quality, and local climate play a massive role. Getting this right ensures you don't overpay for an oversized unit or suffer with an underpowered one.
5 Major Factors Influencing Your Investment Tier
Beyond the basic equipment, several variables can shift your project into a higher or lower tier. Being aware of these allows you to make informed choices and avoid surprises when you receive quotes from contractors.

1. System Efficiency (SEER & HSPF Ratings)
The SEER rating (Seasonal Energy Efficiency Ratio) measures cooling efficiency, while the HSPF measures heating efficiency if you opt for a heat pump model. Standard models with a 16-18 SEER rating sit at the lower end of the tier spectrum. High-efficiency units boasting 20+ SEER ratings use advanced inverter technology and often qualify for federal tax credits or local rebates, offsetting the higher initial tier. For a 1000 sq ft space, the premium tier for a high-efficiency 24,000 BTU unit is meaningfully higher than an entry-level base model, but pays back through lower energy use.
2. Number of Zones (Indoor Air Handlers)
A single-zone system with one outdoor unit and one indoor head is the most affordable entry-level option. If your 1000 sq ft space includes a bedroom, living room, and a home office, a multi-zone system with two or three indoor heads becomes necessary and shifts the project into the mid-range to premium tier. Each additional zone adds extra hardware, refrigerant lines, and labor to install and connect multiple air handlers.
3. Brand and Quality
The brand name on the unit directly correlates with its tier position. You can find budget-friendly, entry-level options from brands like MrCool or Pioneer for DIY or contractor-install, which are a solid choice for temporary solutions or value-focused buyers. Mid-tier brands like Daikin and LG offer an excellent balance of value and performance. Premium Japanese brands such as Mitsubishi Electric command a significant tier premium over entry-level brands due to their legendary reliability, quiet operation, and parts availability.
4. Installation Complexity
This is often the most underestimated factor. A "straightforward install" where the outdoor unit is placed on a ground pad directly behind the wall of an indoor head sits in the entry-level tier. Complexity escalates quickly if the outdoor unit needs to be mounted on a wall bracket or placed on a rooftop, if the lineset must run through attics, crawlspaces, or multiple floors, or if the main home electrical panel needs an upgrade to handle the new circuit. These complex installations can shift the project well into the premium tier in pure labor and materials.
5. DIY vs. Professional Installation
You can purchase a pre-charged DIY mini split kit from brands like MrCool and install it yourself if you are comfortable with the work and your local building codes allow it. This keeps the project in the entry-level tier by eliminating the professional labor component. However, a bad DIY install can lead to refrigerant leaks and void the equipment warranty. Many manufacturers explicitly require professional installation by a licensed HVAC contractor for warranty validation. The peace of mind that comes with a professional guarantee often justifies the higher tier for a long-term appliance.
Operating Efficiency & Long-Term Value
It’s easy to focus only on the upfront tier, but a mini split system is a decades-long investment. A 24,000 BTU, 20-SEER unit with inverter-driven compressor technology can be up to 40% more efficient than a 14-SEER base model. Depending on your local electricity rates, this can translate to meaningful annual energy savings. Over the system's 15-20 year lifespan, this adds up substantially, fully justifying a higher upfront tier. Many ENERGY STAR certified systems are also eligible for utility rebates that further improve the return on investment.

Making a Confident Purchase Decision
Choosing the right mini split system for your 1000 sq ft home is a balancing act between upfront tier and long-term value. The most common and reliable recommendation is to get at least three quotes from insured, local contractors. Never accept a quote over the phone; insist on an in-person assessment of your space. A reputable installer will happily perform a proper load calculation and provide a detailed, line-by-line quote.
Use this guide as your blueprint for evaluating those quotes. Understand what equipment is being proposed, question the installation scope, and check for federal or state incentives. By approaching your purchase with this level of knowledge, you turn a major home upgrade into one of the best comfort investments you can make.


