How to Install a Window Air Conditioner in a Window
Master the complete installation process for your window AC unit with this safe, step-by-step DIY guide. From measuring your window to sealing the final gap, learn how to get a perfect fit and enjoy efficient cooling all summer.
VIEW STEP-BY-STEP GUIDEKey Takeaway: A proper window air conditioner installation is crucial not only for efficiency and safety but also for preventing damage to your window and home. Following this guide will ensure your window AC unit is secure, well-sealed, and operates at peak performance.
Before You Start: Preparation and Safety
Installing a window air conditioner is a manageable DIY project that can save you money and is perfect for renters or those needing a temporary solution. However, it requires careful preparation. A unit that is not correctly sized for your room will be inefficient, and one that is not properly secured can be a serious safety hazard. Before you even unbox your AC, take these critical first steps. A new window unit is generally an entry-level to mid-range investment compared to central systems, making it a practical and accessible cooling option for many households.
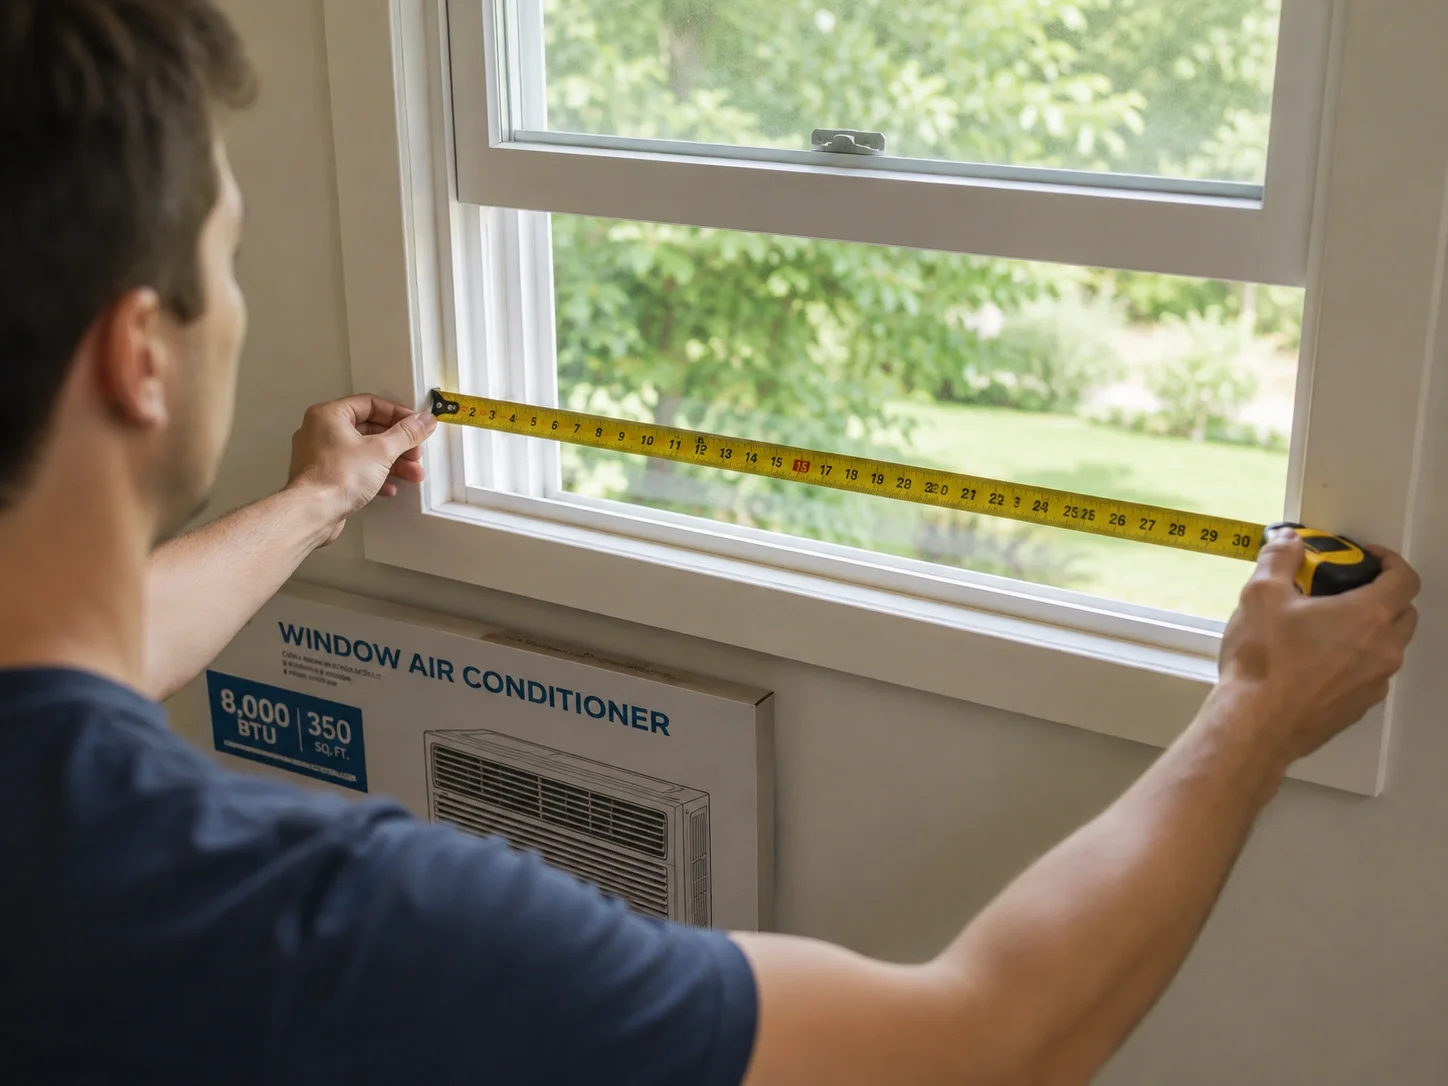
1. Measure Your Window Opening Correctly
This is the most important step. Measure the window opening's width and height from the bottom of the sash to the sill. Do not measure the glass. Check the AC unit's minimum and maximum window width specifications. The unit should fit snugly within the window frame. A common mistake is buying a unit for a window that is too large or too small. For detailed guidance on matching capacity to room size, consult our BTU calculator by room size.
2. Gather Your Tools and Materials
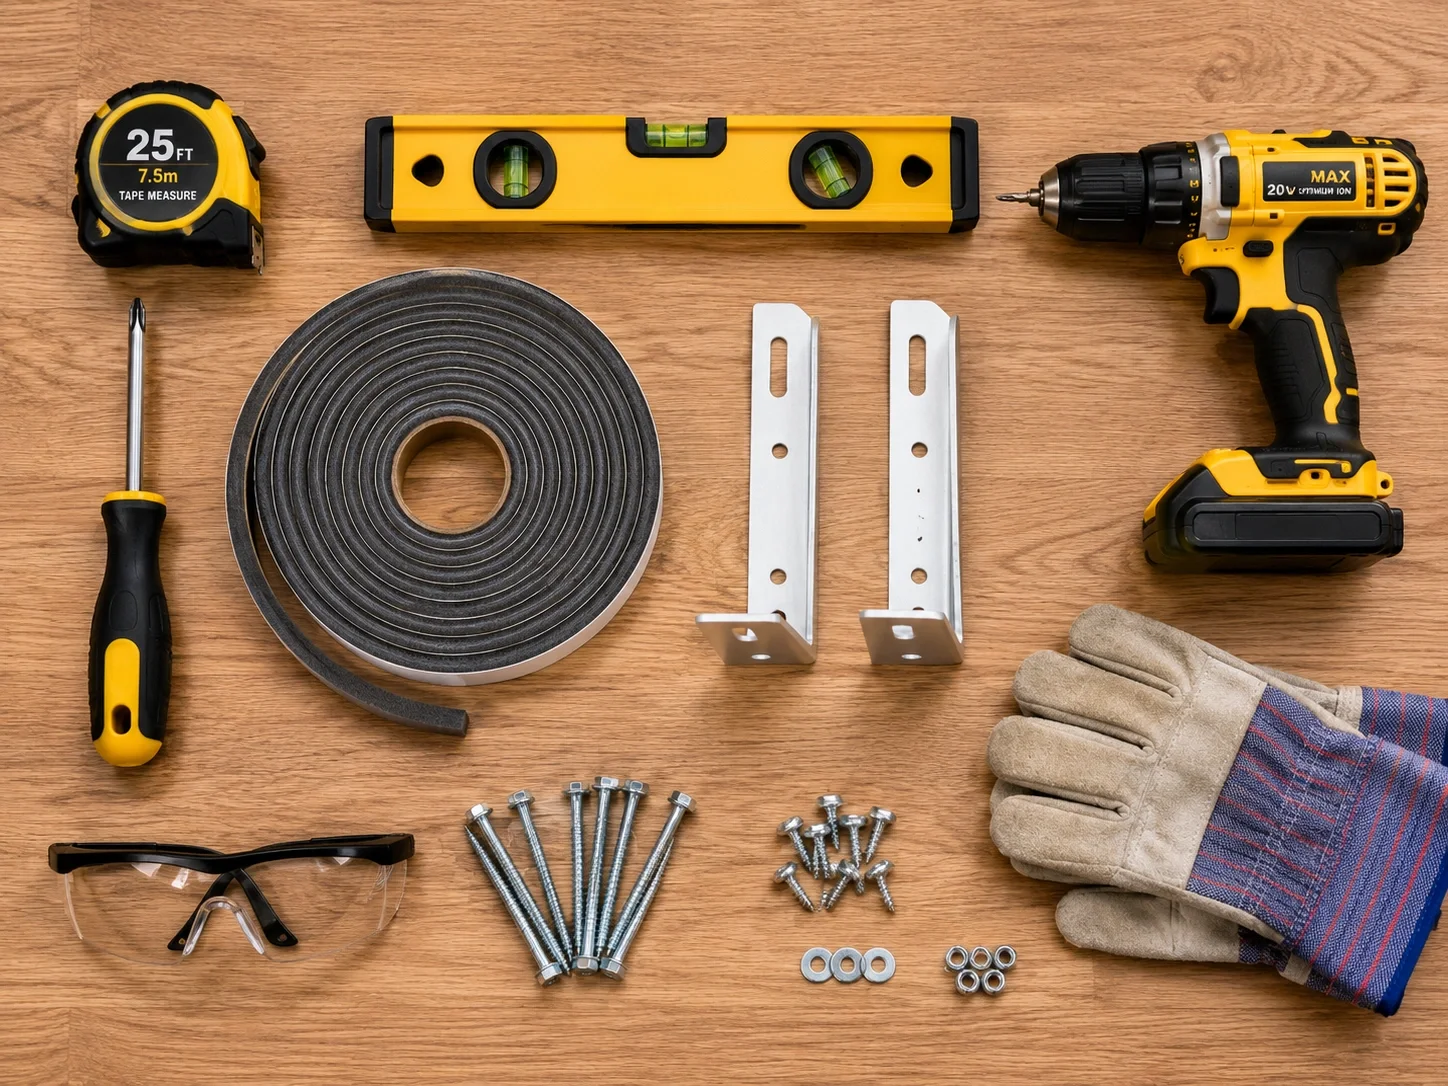
Having everything ready beforehand will make the installation smooth and safe. Here are the essential tools you'll need:
- ✅ Screwdriver set
- ✅ Cordless drill
- ✅ Level
- ✅ Tape measure
- ✅ Weatherstripping foam
- ✅ Safety glasses & gloves
- ✅ A helper for lifting
3. Inspect the Window and Electrical Setup
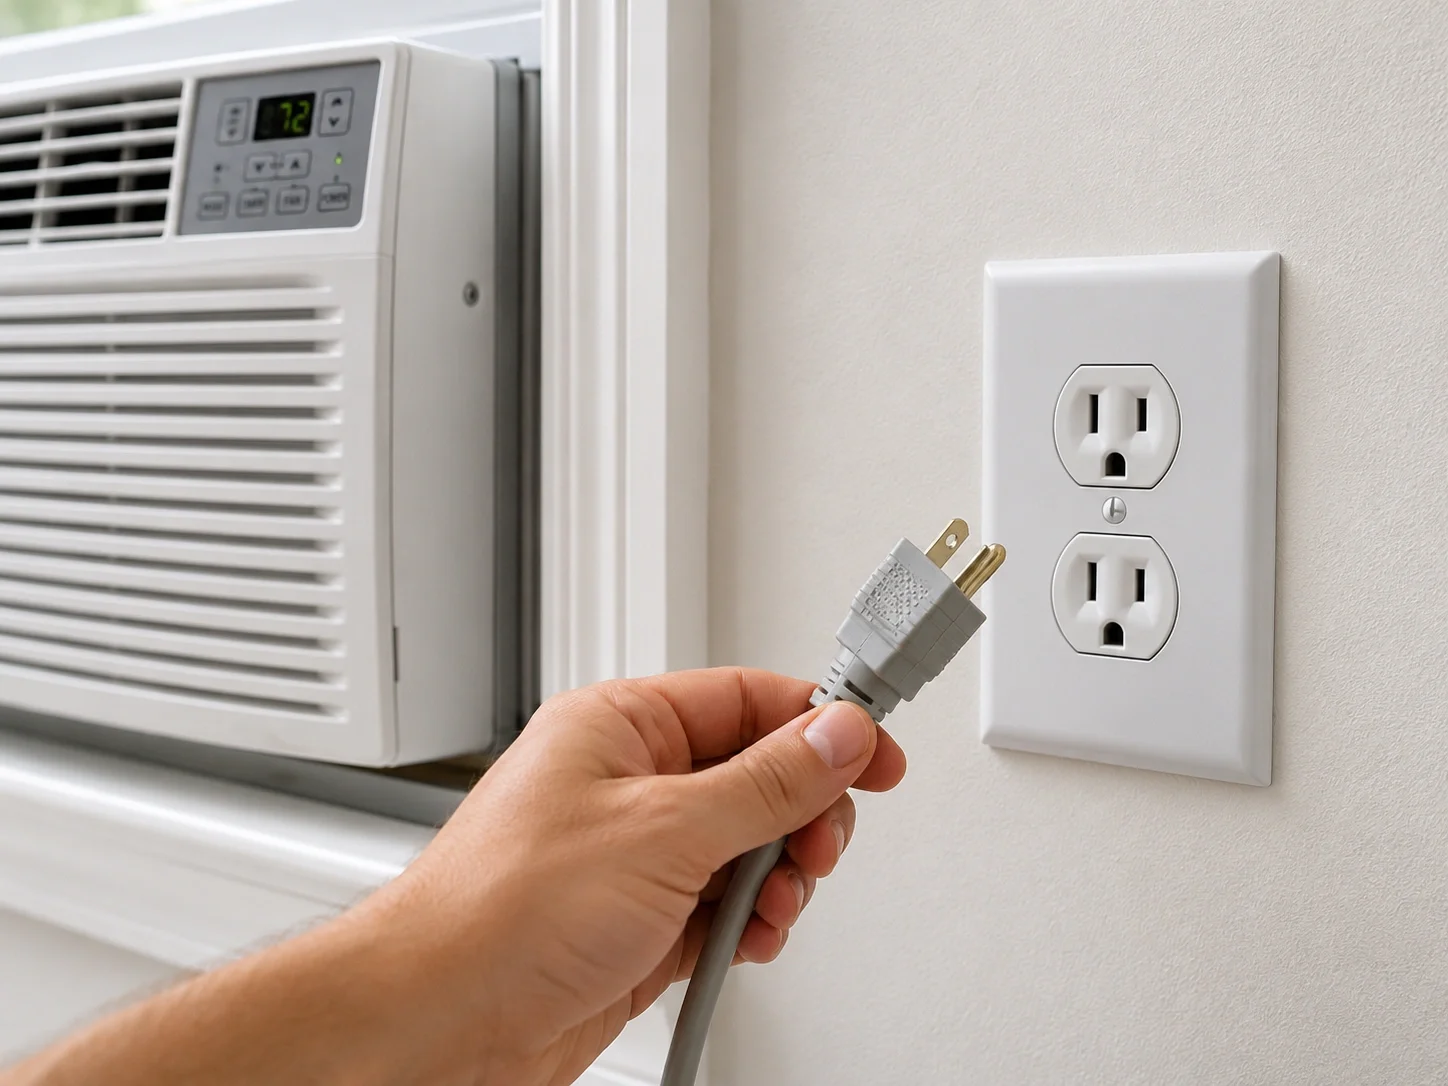
Carefully inspect the window frame, sill, and sash for any rot, cracks, or damage. The window must be structurally sound to support the unit's weight. Also, consider your electrical needs. Most room ACs require a standard 115V outlet, but some larger units may need a 230V outlet. Ensure the unit's amp draw and breaker size are compatible with your home's electrical system to avoid tripped circuits. The outlet should be within reach of the unit's cord, and you should never use an extension cord.
Step-by-Step Window AC Installation
With your preparations complete, you're ready to install the unit. While models vary slightly, the core process is the same. Always read the manufacturer's instructions first. If at any point you feel unsure, it's wise to call an HVAC technician or a professional installer.
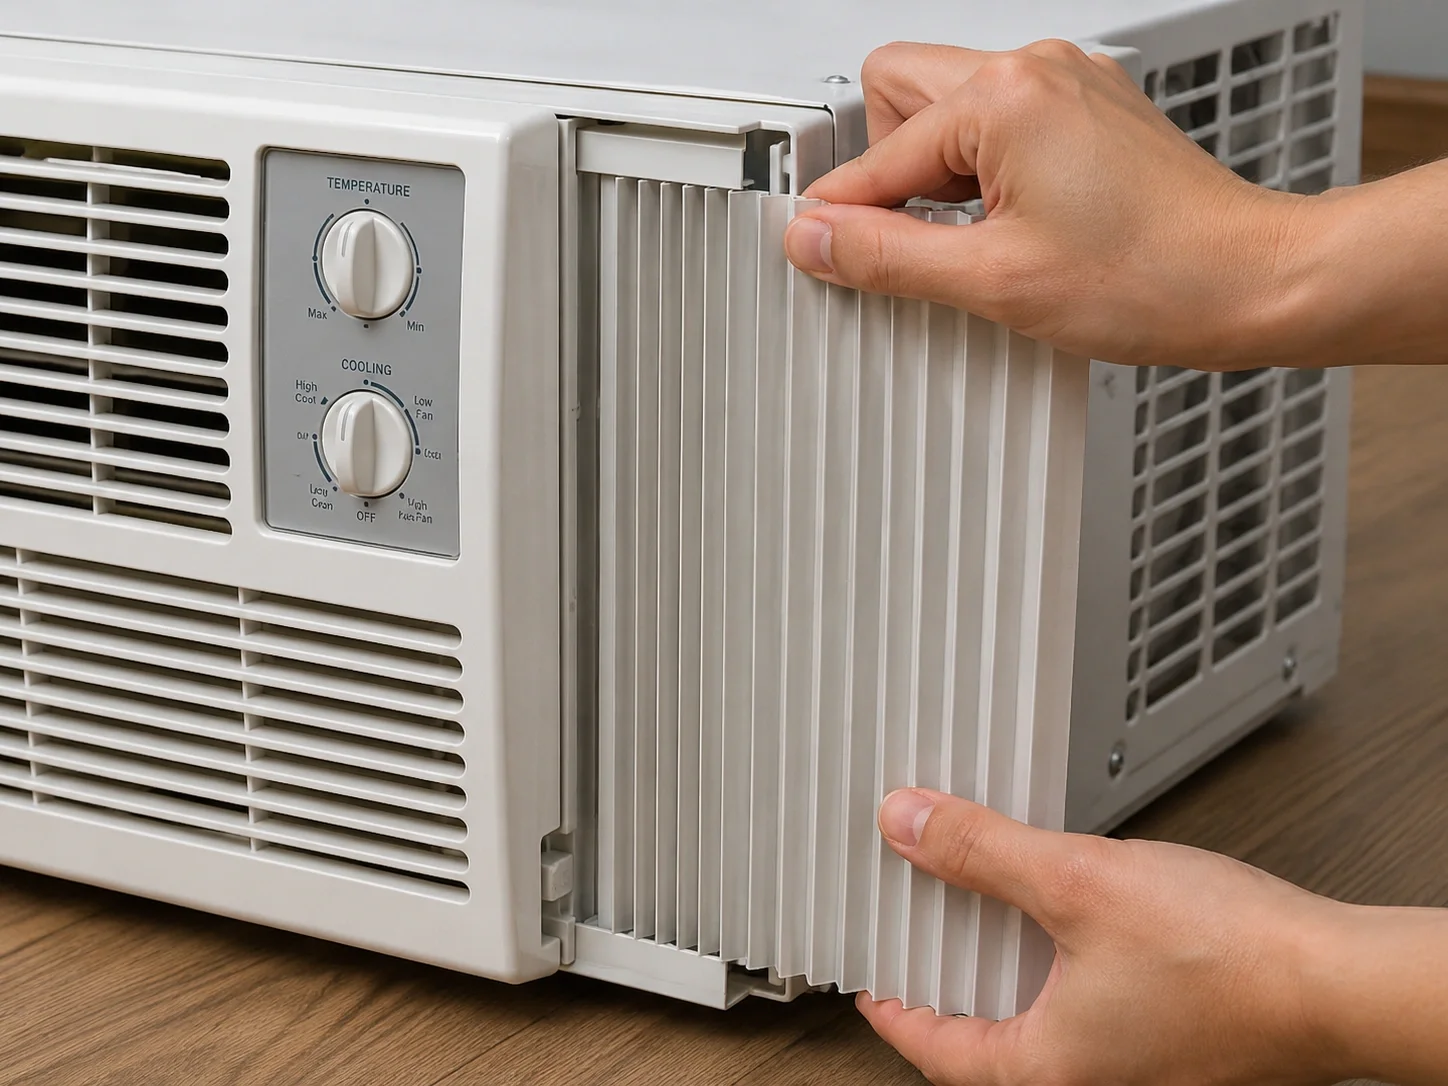
Step 1: Attach Side Curtains and Top Rail
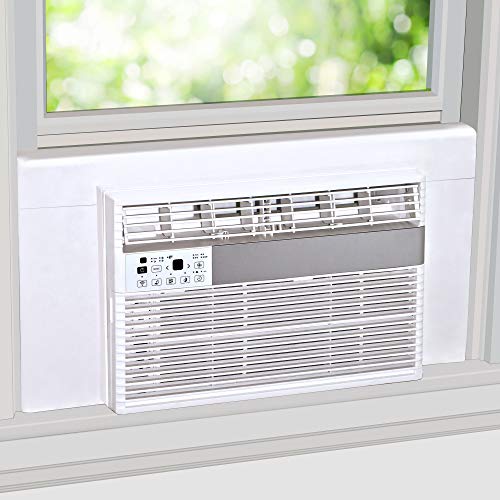
Slide the accordion-style side curtains into the grooves on the AC unit. Then, attach the top mounting rail, which is usually secured with screws, along the top of the unit. This rail is essential for holding the unit in place once the window sash is closed against it.
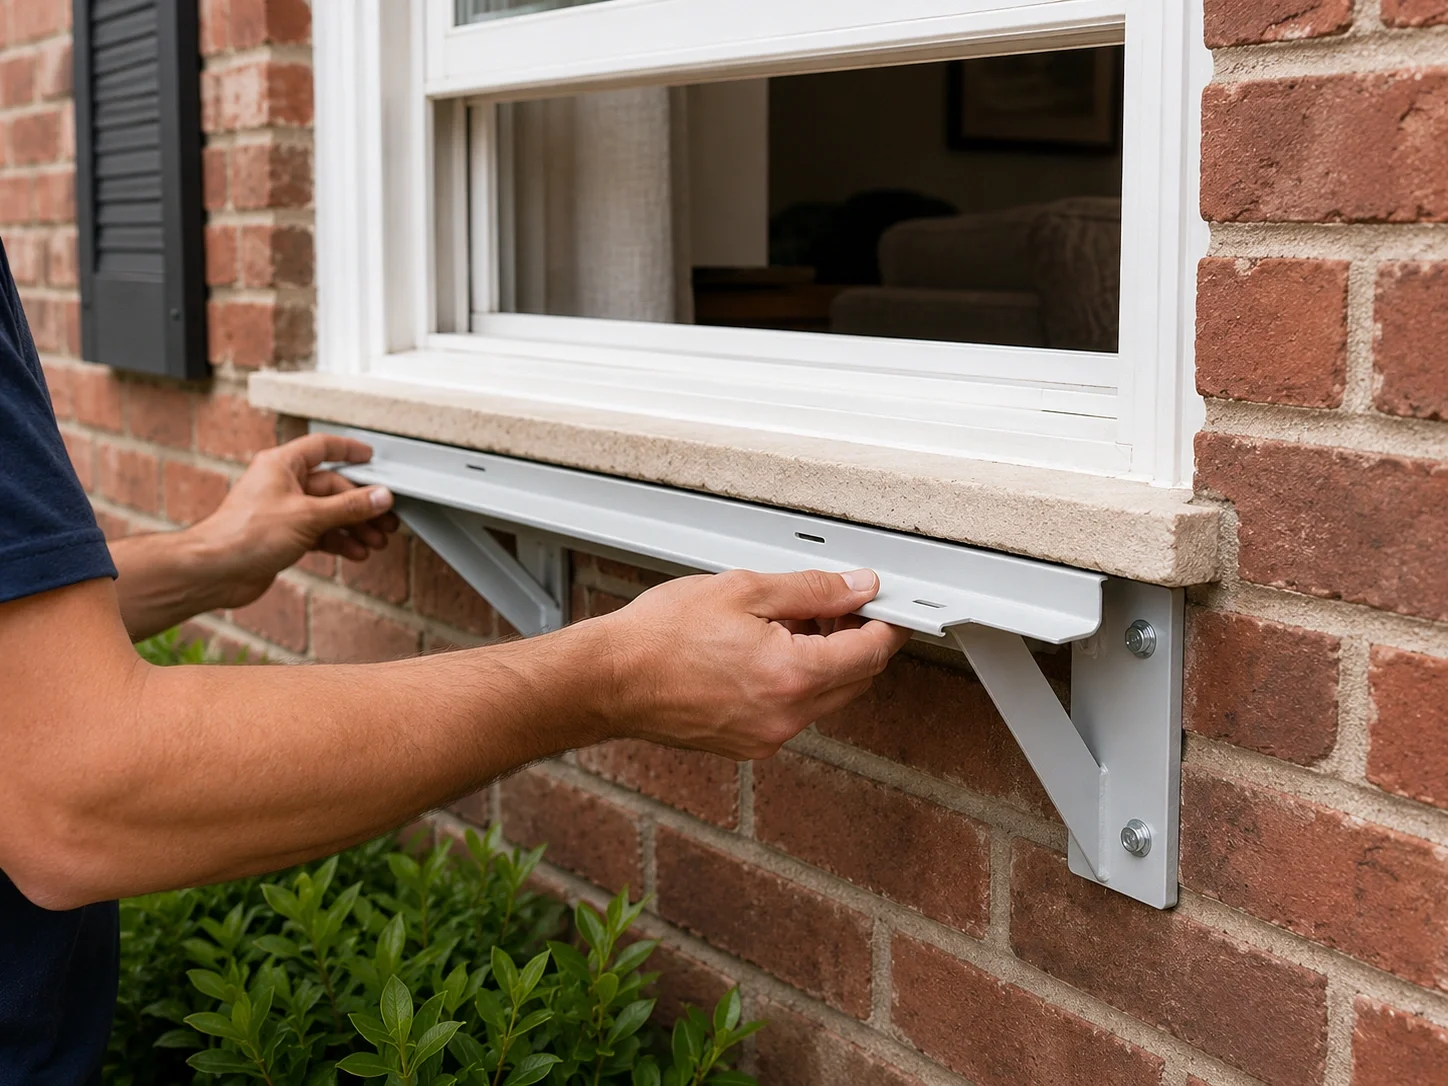
Step 2: Install the Sill Angle and Support Brackets
Some units include an "L"-shaped sill angle bracket. This bracket is screwed into the window sill and provides a secure lip for the AC unit to rest against, preventing it from sliding inward or outward. For added security, especially on upper floors, use exterior support brackets that are mounted to the exterior wall. This is a vital safety step that ensures the unit's stability.
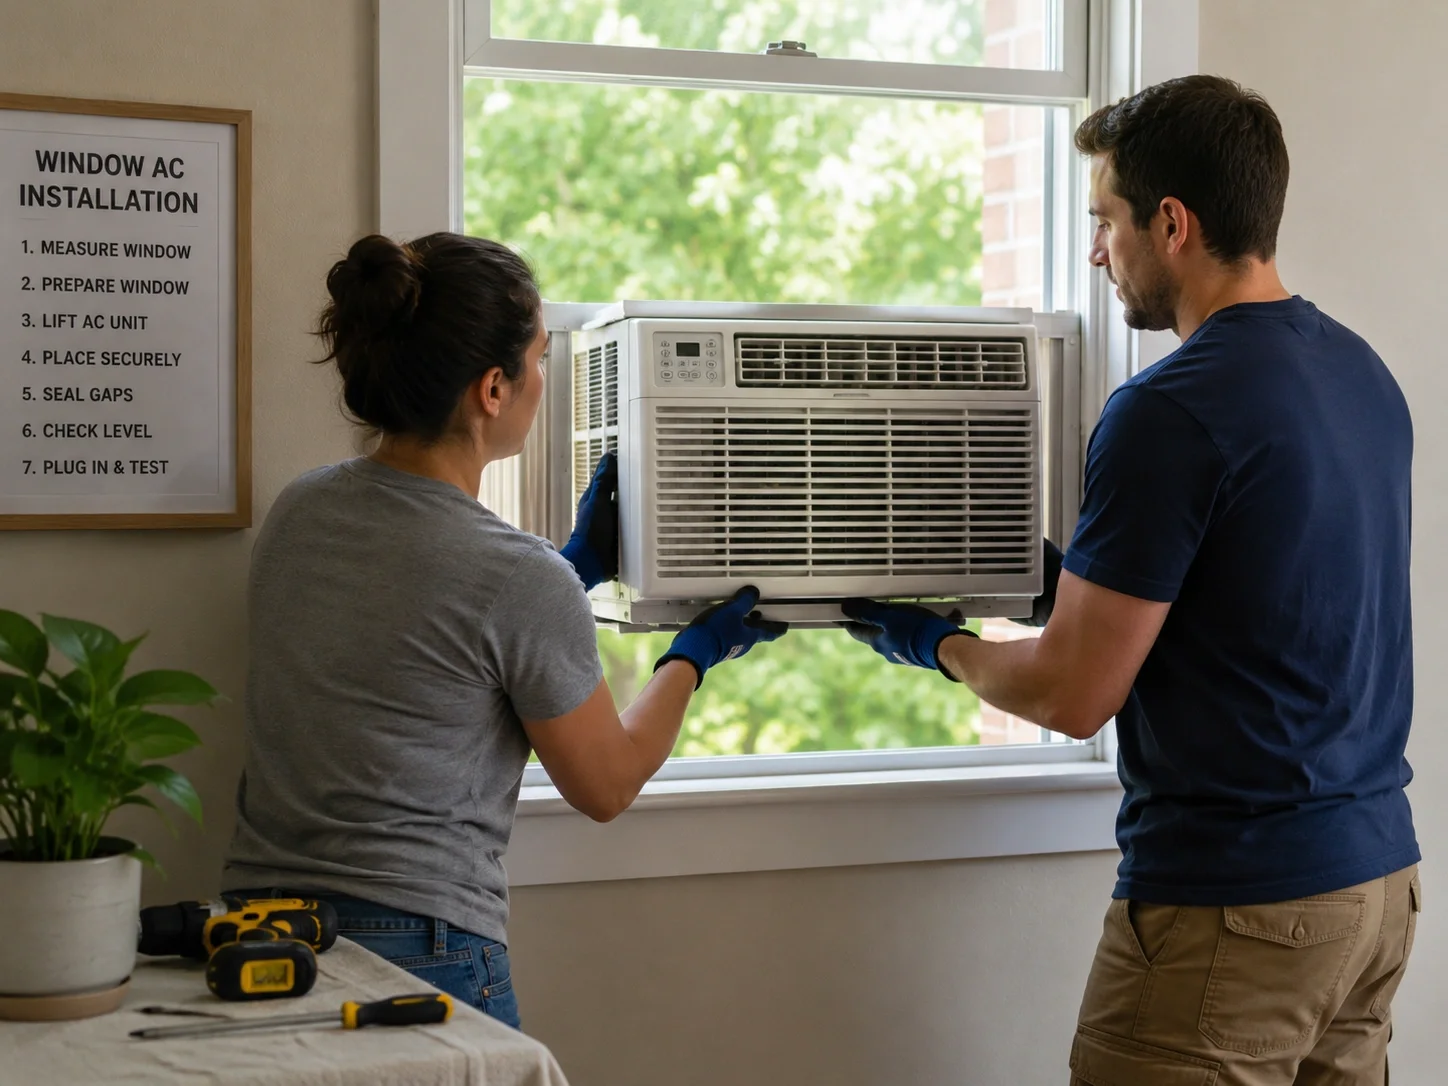
Step 3: Lift and Position the AC Unit
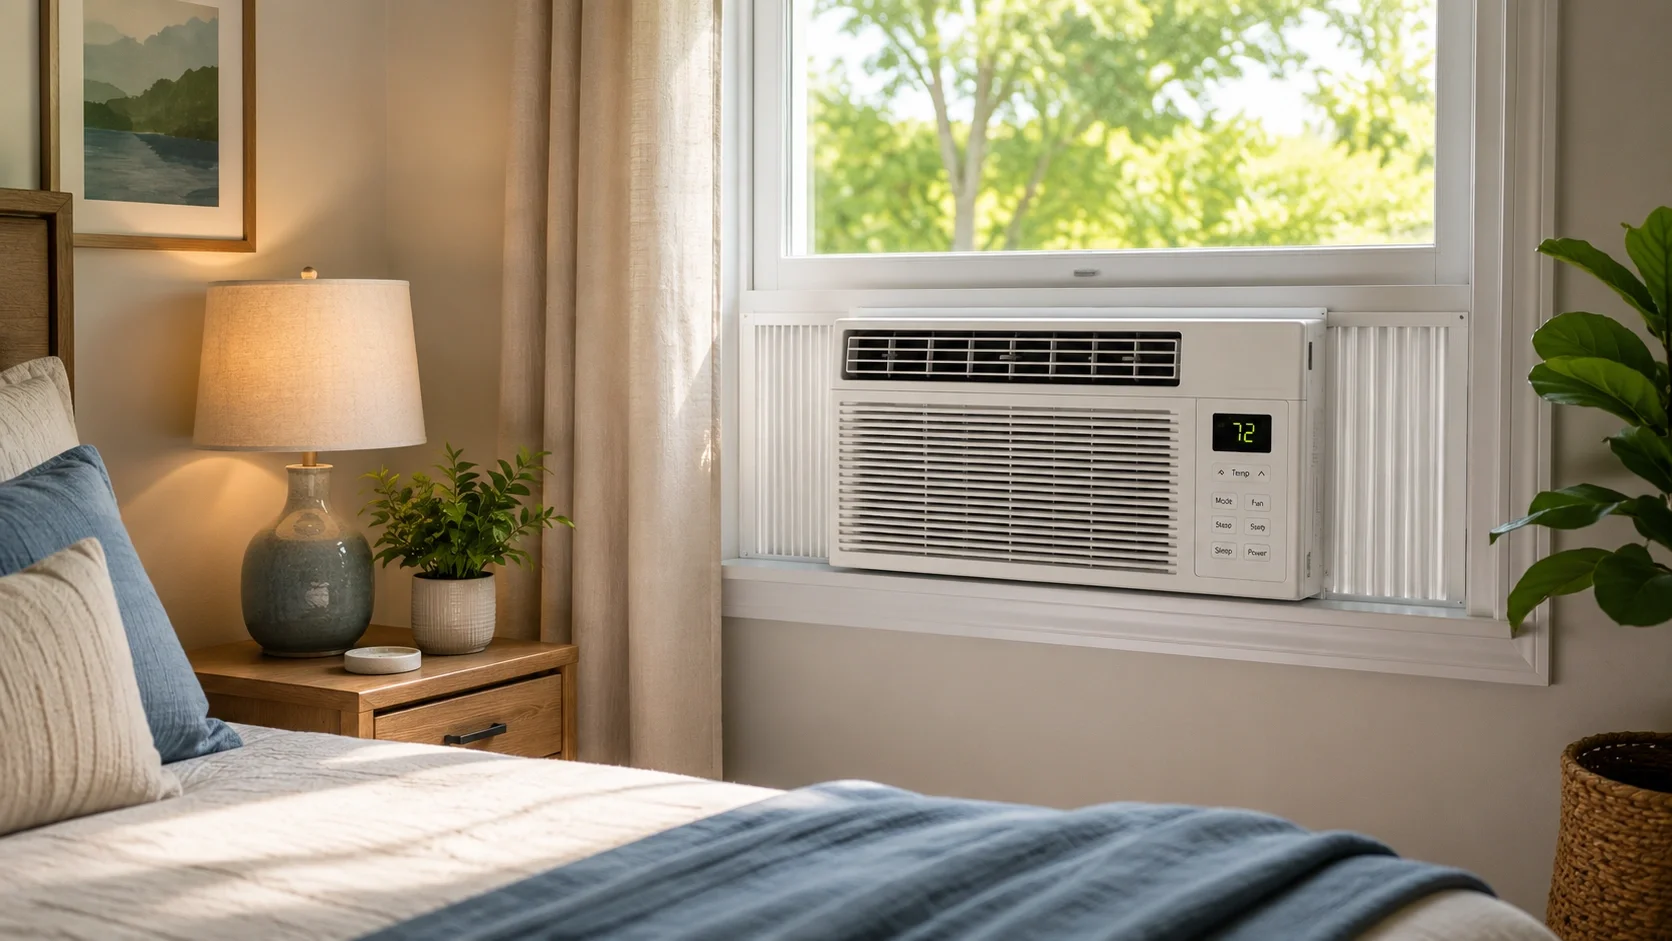
With a helper, carefully lift the air conditioner and place it on the window sill. Center it in the opening, and gently lower the window sash so it rests securely on top of the unit, fitting into the groove of the top mounting rail. Use a level to ensure the unit has a very slight tilt (about 1-2 degrees) toward the outside. This tilt is critical for proper condensate drainage and will prevent water leaking from your AC into your room.
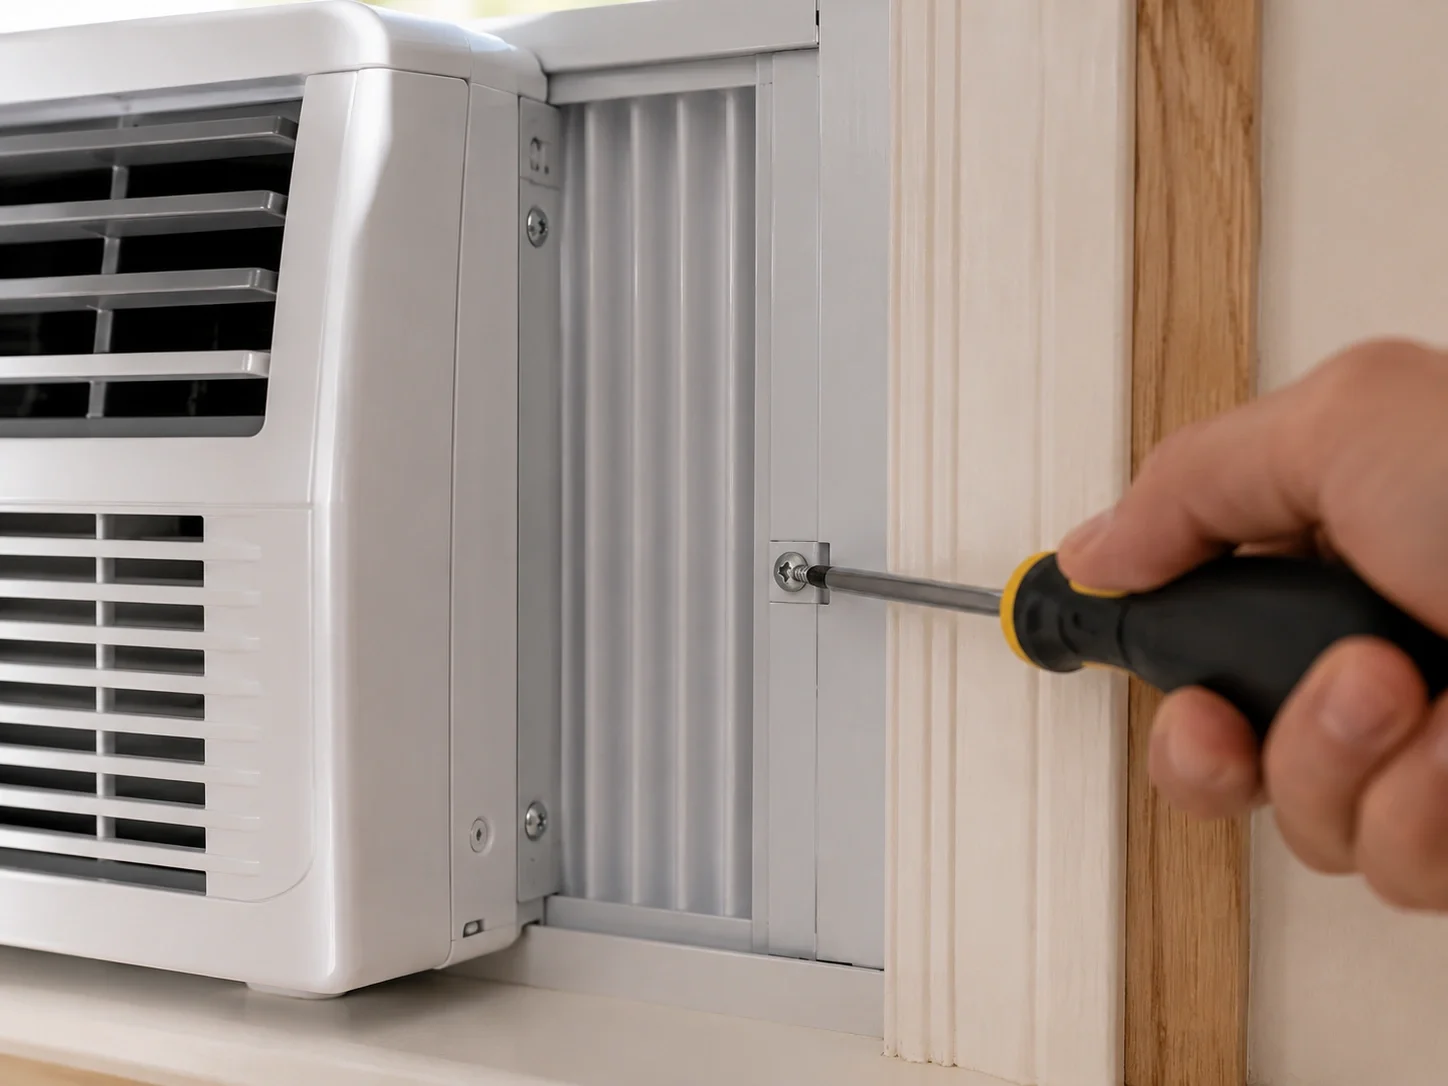
Step 4: Secure the Unit and Extend Curtains
Pull the side curtains all the way to the window frame and screw them into the sides of the frame. This seals the gap and locks the unit in place. Next, install the "L"-shaped locking brackets or use screws through the upper sash and top rail to prevent the window from being accidentally opened from the outside—an essential security and safety measure.
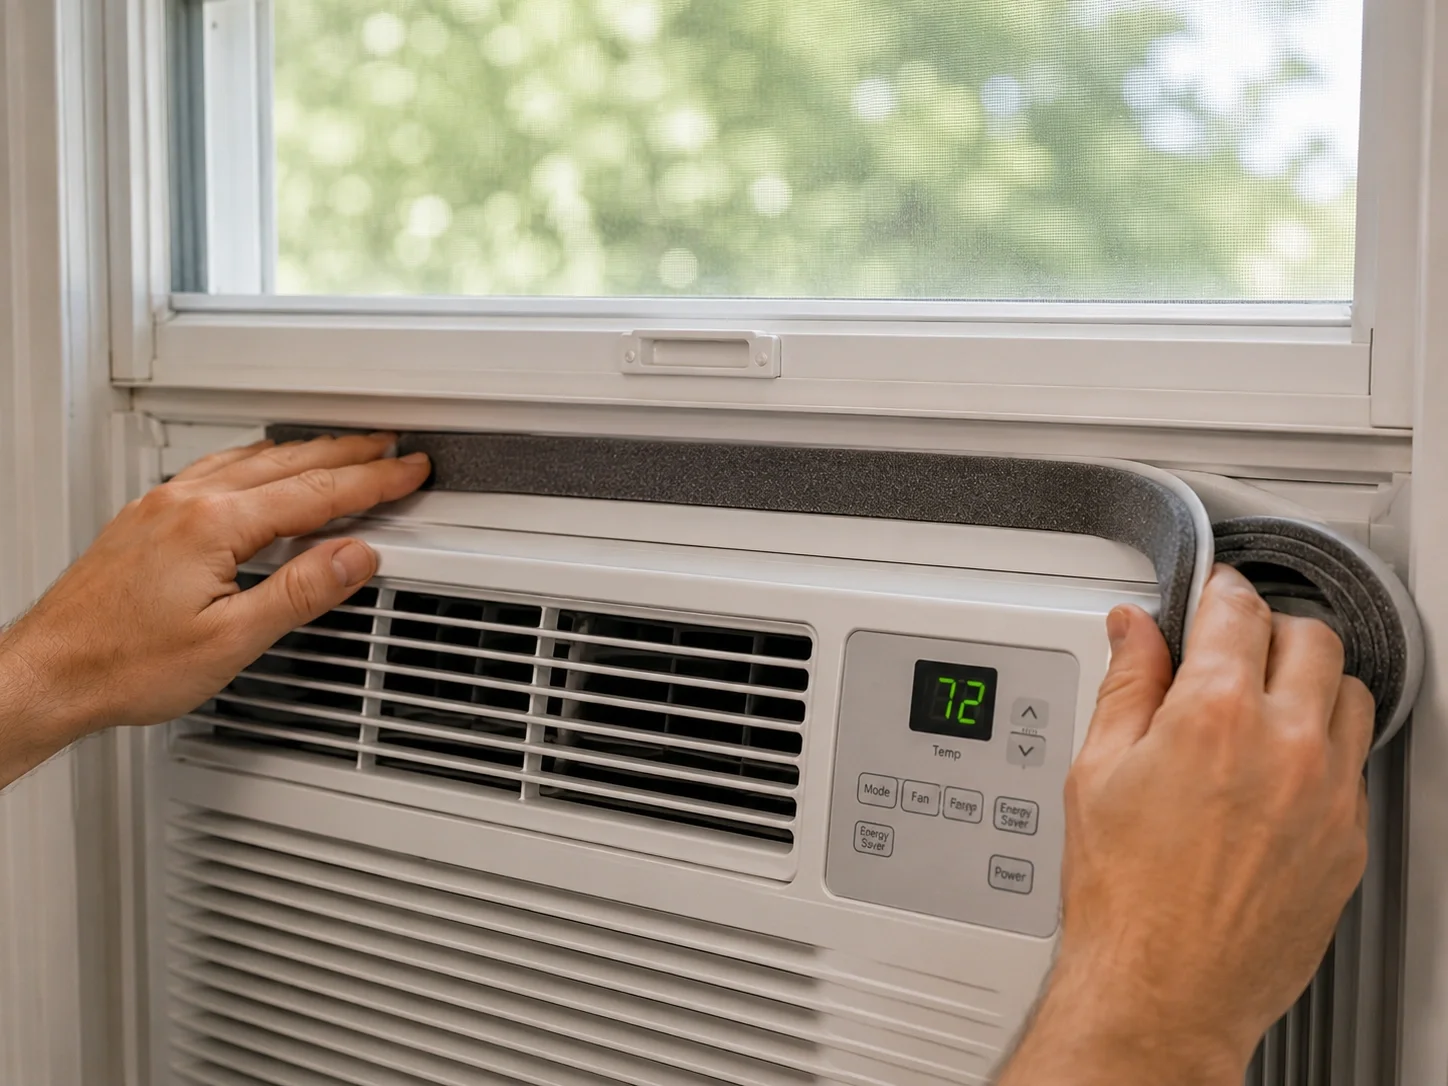
Step 5: Seal the Gaps for Maximum Efficiency
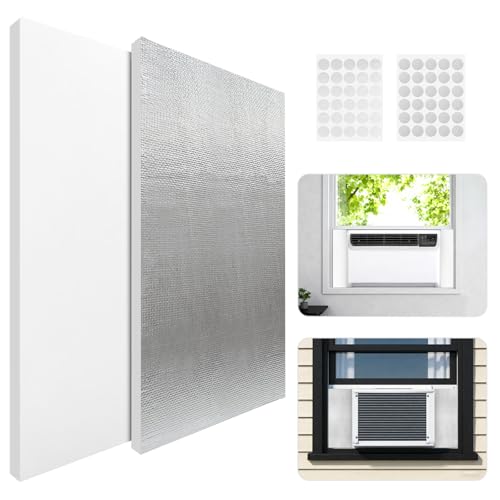
Any small gaps between the window sash, frame, and the unit will let in hot air, insects, and moisture. Use the provided foam weatherstripping to fill these spaces. For a more durable seal, you can use rope caulk. A well-sealed unit is a more energy-efficient AC and will be less demanding on your energy use over time. For additional year-round savings, explore our energy-saving tips for ACs.
Post-Installation: Test and Maintain
Plug the unit directly into a grounded wall outlet and turn it on. Listen for any unusual vibrations or noises coming from your AC. Check for air leaks around the seals by feeling with a damp hand. Over time, remember to clean or replace the air filter monthly. You can learn how with our guide on how to clean an AC filter. Proper maintenance will keep your unit running efficiently for years and ensure the air in your room is clean and cool. This simple routine can prevent most common AC problems before they start.
Safety Reminder: If your window is on a high floor, on a roof, or over a pedestrian walkway, extra precautions like professional-grade support brackets are a must. Never rely solely on the window sash to hold the unit. For window types that don't accommodate a standard unit, like casement windows, explore a ventless or casement-compatible AC solution instead of forcing a fit. Your safety and peace of mind are the top priority.