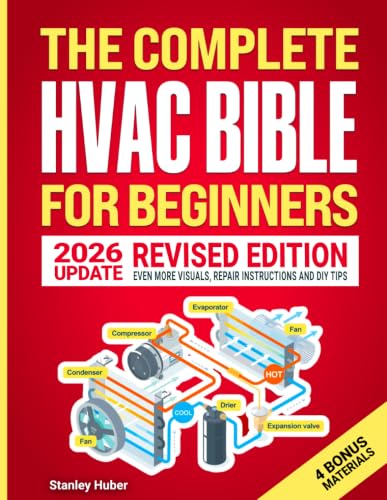
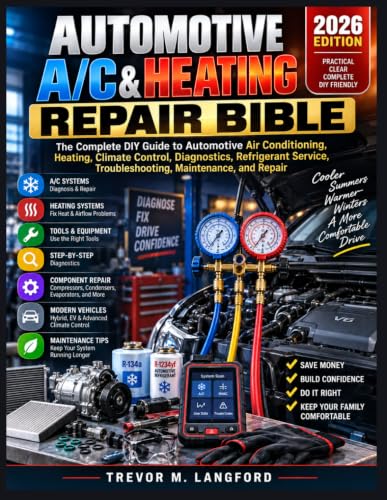
DIY HVAC Repair: The Complete Guide to Fixing Your AC Yourself
Take control of your home's comfort. Learn how to diagnose and fix common air conditioner problems safely and effectively with our step-by-step guide.
Start Your RepairWhen your air conditioner breaks down, it can feel like an emergency. The thought of a high service bill and a long wait for a technician adds to the stress. But many common AC issues are well within the capabilities of a confident homeowner. This comprehensive guide to DIY HVAC repair will walk you through the tools you need, the safety precautions to take, and the step-by-step instructions to troubleshoot and fix your unit.
Whether you're looking to improve your home's energy efficiency or want to understand the different types of air conditioning units, learning basic repairs is a worthwhile investment. Before you start, remember that some repairs are complex and require a professional. This guide will help you understand what you can tackle yourself and when it's time to call an expert.
Pro Tip: For general maintenance and energy-saving tips, explore our ductless air conditioner and heater resources. A well-maintained system is less likely to break down.
⚠️ Your Safety Comes First
Always turn off the power to your AC unit at the thermostat and the main electrical panel before starting any work. HVAC systems use high-voltage electricity that can cause serious injury or death. This guide is for informational purposes only. If you are unsure about any step, or if your system uses gas or oil, stop and call a licensed professional. Refrigerant handling also requires certification and is not a DIY task.
Essential Tools for DIY HVAC Repair
Having the right tools makes any job safer and easier. Before starting, gather these items:
- Safety glasses and work gloves for eye and hand protection.
- A multimeter to test electrical components like capacitors and fuses.
- Screwdrivers and nut drivers for opening panels and removing screws.
- A soft-bristled brush and a vacuum for cleaning coils and fins.
- A fin comb to straighten bent fins on the condenser coil.
- A pipe wrench or adjustable pliers for drain line repairs.
- Coil cleaner specially formulated for HVAC use.
For more advanced diagnostics, a clamp meter can be useful, but a standard multimeter is sufficient for most common repairs.
Step-by-Step Guide to Common AC Repairs
Here are the most frequent problems homeowners face and how to fix them.
1. AC Is Not Cooling (But Is Running)
This is the most common complaint. The unit turns on, but the air is warm. Here's what to check:
- Check the Air Filter: A clogged filter is the number one cause of poor cooling. A dirty filter restricts airflow, causing the evaporator coil to freeze. Replace it with a new one. Learn more about DIY mini-split maintenance for filter-specific tips.
- Inspect the Outdoor Unit: The condenser coil needs to dissipate heat. If it's covered in dirt, leaves, or debris, it can't work efficiently. Turn off the power and gently clean the fins with a hose and coil cleaner. Ensure the area around the unit is clear of obstructions.
- Check the Thermostat: Make sure it's set to "COOL" and "AUTO" or "ON," and the temperature is set lower than the room temperature.
- Look for Frozen Coils: If you see ice on the indoor or outdoor unit, turn the system off immediately. This is often caused by low refrigerant or restricted airflow. Let it thaw completely before investigating further. For detailed steps, see our guide on DIY mini-split air conditioner installation, which covers coil care.
2. AC Is Leaking Water
A water leak can cause significant damage to your home. The fix is often simple:
- Clear the Condensate Drain Line: Algae and debris can clog the drain pipe. Locate the drain line (usually a PVC pipe near the indoor unit) and use a wet/dry vacuum to suction out the clog, or use a special drain brush.
- Check the Drain Pan: Inspect the drain pan for cracks or rust. If it's damaged, it will need to be replaced. Our article on a drip pan for an AC unit in the attic full of water provides more in-depth solutions.
- Ensure Proper Installation: The unit should be level. If it's not, water can spill out of the pan instead of draining.
3. AC Is Making Strange Noises
Squealing, grinding, or rattling sounds indicate a problem that needs attention:
- Squealing: Often points to a worn-out blower motor bearing or a loose fan belt. Tightening or replacing the belt is a common DIY fix.
- Grinding: This could be a failing compressor or a motor issue. Stop using the unit and call a professional, as this can be a sign of a major component failure.
- Rattling: Loose panels or screws are the usual culprits. Check and tighten all accessible screws and fasteners.
4. Unit Won't Turn On At All
Before you panic, check the simple things first:
- Check the Thermostat: Replace the batteries. Ensure it's not set to "OFF" or "HEAT."
- Check the Breaker: A tripped circuit breaker is a common cause. Locate your main electrical panel and reset the breaker for the AC unit. If it trips again immediately, you have an electrical short and should call a technician. If you're unsure about your electrical setup, our guide on whether you need an electrician for your AC can help you decide.
- Check the Float Switch: Many systems have a safety switch that turns off the unit if the drain pan fills with water. If your drain line was clogged, this switch may have tripped. Empty the pan and clear the line to reset it.
Understanding Your System: A Quick Look at Key Parts
To repair your system effectively, it helps to know what you're looking at. The main components you'll interact with during DIY repairs are:
- Evaporator Coil (Indoor): This coil absorbs heat from your home's air. It's prone to freezing due to dirty filters or low refrigerant.
- Condenser Coil (Outdoor): This coil releases the absorbed heat outside. It requires regular cleaning to function efficiently.
- Compressor: The "heart" of the system, it pumps refrigerant. This is a complex, sealed component and its repair is strictly for licensed professionals.
- Capacitor: A small, cylindrical electrical component that gives the fan and compressor motor a boost to start. A failing capacitor is a very common and straightforward DIY replacement. Always discharge a capacitor safely before touching it!
Understanding these parts will help you diagnose issues and communicate better with technicians when needed. For a deeper dive into system types, review the various different types of air conditioning for homes.
When to Stop DIY and Call a Professional
Knowing your limits is the most important DIY skill. Always call a licensed HVAC technician for:
- Refrigerant Issues: Handling refrigerant is dangerous and requires special equipment and EPA certification. If you suspect a leak, call a pro.
- Compressor Problems: A faulty compressor is a major repair and is not a DIY project.
- Gas or Oil Furnace Issues: Any work involving fuel lines or combustion is extremely dangerous.
- Complex Electrical Work: If you've checked the breaker and basic components and the unit still has no power, it's time for a professional electrician or HVAC technician.
- Ductwork Issues: While minor sealing is a DIY task, major duct repairs or installation require specialized tools and knowledge.
Avoiding a small problem can lead to a major failure. If you're ever in doubt, stop and call for help.
Comparing System Tiers: Which is Best for Your DIY Goals?
When you're ready to replace a system, understanding its market tier can help you set realistic expectations for future DIY maintenance.
| Tier | Best For | Key Characteristics |
|---|---|---|
| Entry-Level | Renters and basic cooling needs | Standard components, single-stage compressors, simpler construction which can be easier for basic DIY tasks like capacitor replacement. |
| Mid-Range | Most homeowners seeking a balance of efficiency and features | Two-stage compressors, better sound insulation, and more durable parts. Often a good balance of repairability and performance. |
| Premium | Homeowners focused on maximum comfort and efficiency | Variable-speed compressors, advanced smart controls, and high-grade materials. These systems are more complex and often have more proprietary parts, making some repairs less DIY-friendly. |