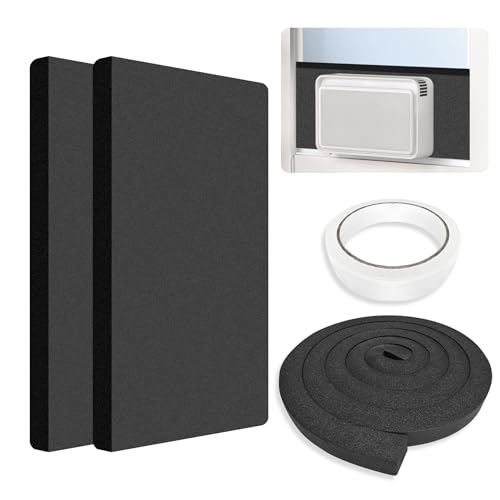
Professional Window Air Conditioner Installation
A properly installed window AC cools more evenly, runs quieter, and lasts longer. This guide explains what professional installation involves, how to prepare your window and electrical setup, and how to judge whether a unit suits your room before you buy.
Start ReadingWhy Professional Window AC Installation Matters
A window air conditioner is a heavy appliance that hangs partly outside your home. When it is installed correctly, the unit sits level or with a slight outward tilt, the window frame is sealed against drafts, and the electrical connection is safe. When it is installed poorly, the consequences range from annoying vibration and water damage to a serious safety hazard.
Professional installers focus on four outcomes that directly affect how well your unit performs:
- Structural security. A reinforced bracket or support frame carries the weight of the unit so the window sill and frame are not stressed. This is especially important for mid-range and premium units, which are typically heavier and deeper than entry-level models.
- Correct tilt for drainage. Condensation must drain outdoors. A slight downward tilt toward the outside keeps water from pooling inside the unit or leaking into the room.
- Air sealing. Gaps around the window opening let hot outdoor air in and cooled indoor air out. Proper foam, weatherstripping, and side panels close those gaps and reduce the load on the compressor.
- Electrical safety. The outlet, circuit, and cord must match the unit's requirements. A professional installation verifies breaker capacity and outlet type before the unit is powered on.
If you are comparing installation approaches, the related guide on proper installation of window AC covers the fundamentals in more depth, while this page focuses on what a professional service adds and how to prepare for it.
Pre-Installation Checklist
Before an installer arrives, a few checks make the appointment smoother and help you avoid surprises. These steps also help you confirm that the unit you plan to buy is the right fit for the window.
- Measure the window opening. Record the width and height of the clear opening, plus the depth of the sill. Compare these to the unit's minimum and maximum window width specifications.
- Confirm the unit's weight and dimensions. Check the product specification sheet for net weight and cabinet depth. Units that extend far outside the window benefit from a bracket.
- Inspect the window frame. Wood frames, vinyl sliders, casement windows, and double-hung windows each need different mounting approaches. Note any rot, loose hinges, or damaged seals.
- Locate the nearest outlet. Most window units use a 115V outlet, while larger-capacity models may require 230V. Confirm the outlet type and whether it is on a dedicated circuit.
- Check for obstructions outside. Shrubs, fences, or adjacent walls can block airflow from the condenser. Leave adequate clearance as specified by the manufacturer.
- Plan for support. For upper-floor windows or wide openings, a support bracket is strongly recommended. Discuss bracket options with your installer during the quote.
Window Types and Bracket Support
The window type determines how the unit is secured and how much sealing work is required. A professional installer will match the mounting method to the frame rather than forcing a universal approach.
| Window Type | Mounting Consideration | Support Recommendation |
|---|---|---|
| Double-hung (vertical slider) | Unit rests on the lower sash; the upper sash closes behind it | L-bracket or window bracket for mid-range and heavier units |
| Single-hung | Similar to double-hung but only the lower sash moves | Bracket plus sash lock to prevent rattling |
| Horizontal slider | Unit sits in the side opening; side panels seal the gap | Support frame recommended; check sash stability |
| Casement | Crank-out window; usually needs a special bracket or a different AC type | Professional assessment strongly advised |
| Awning | Top-hinged window; limited compatibility with standard window units | Confirm compatibility before purchase |
Bracket selection is not just about safety. A stable, well-supported unit vibrates less, which reduces noise inside the room. If quiet operation is a priority, the guide to the quietest air conditioner window unit explains which design features contribute to lower sound levels.
Step-by-Step Professional Installation Process
While every installer follows a slightly different sequence, a professional window AC installation generally includes the steps below. Understanding them helps you ask the right questions and verify that nothing is skipped.
- Site assessment. The installer checks the window frame, sill condition, nearby outlets, and outdoor clearance. Any structural concerns are raised before work begins.
- Bracket or frame installation. A support bracket is mounted to the exterior wall or window frame. The installer confirms it is level and rated for the unit's weight.
- Unit placement. The air conditioner is lifted into position, with the cabinet seated on the bracket and the window closed down onto the unit's top seal.
- Tilt adjustment. A slight outward tilt is set so condensation drains away from the room. Too much tilt can cause the compressor to run inefficiently; too little causes water buildup.
- Side panel and sash sealing. Accordion side panels are extended, and weatherstripping or foam is added around the sash and frame to close air gaps.
- Electrical verification. The installer confirms the outlet type, checks the cord and plug, and verifies the circuit can handle the unit's rated amperage.
- Test run. The unit is powered on, cooling and fan modes are tested, and the installer checks for vibration, unusual noise, and proper drainage.
- Cleanup and handover. Packaging is removed, the window area is cleaned, and the installer explains filter access and basic operating tips.
For a deeper look at the physical steps involved, see putting in a window air conditioner, which walks through the process from the perspective of a homeowner preparing for installation day.
Sealing, Insulation, and Drainage
Sealing is where professional installation delivers some of its clearest benefits. A unit that fits loosely in the window lets hot air infiltrate around the cabinet, forcing the compressor to work harder and making the room feel less comfortable.
Air sealing priorities
- Foam weatherstripping along the top sash where it meets the unit
- Side panel gaskets that press against the window frame
- Caulk or foam for gaps between the bracket and exterior wall
- Sash locks or shims to stop the window from rattling
Drainage considerations
Window units remove humidity from the room, and that moisture has to go somewhere. Most units drain through a weep hole or a channel at the rear of the cabinet. The installer sets the tilt so water flows outward, and checks that the drain path is not blocked by the bracket or by debris. If water drips into the room after installation, the tilt is usually the first thing to check.
Electrical Safety and Circuit Requirements
Electrical safety is a core reason to choose professional installation. Window air conditioners draw significant current, and an undersized circuit or worn outlet can overheat. Before the unit is plugged in, the installer verifies the following:
- Voltage match. Most standard window units use 115V; larger-capacity models often require 230V. The outlet must match the unit's plug configuration.
- Dedicated circuit. A dedicated circuit prevents other appliances from tripping the breaker when the compressor starts.
- Breaker and wiring capacity. The circuit breaker and wire gauge must be rated for the unit's amperage. If the existing circuit is shared or marginal, an electrician may need to add a dedicated line.
- GFCI protection. Outlets near windows and in rooms with water sources should have ground fault protection. Many modern installations include a GFCI outlet.
- Cord and plug condition. The cord should reach the outlet without an extension cord. Manufacturers generally advise against extension cords for high-draw appliances.
If you are planning a larger HVAC project alongside the window unit, the overview of heating and air conditioning units can help you compare system-level options before committing to a room-by-room approach.
Matching Unit Tier to Installation Needs
Installation requirements scale with the unit's size, weight, and feature set. The table below uses universal tier descriptors rather than specific figures, so you can apply it to any product lineup.
| Tier | Typical Installation Profile | Best For |
|---|---|---|
| Entry-level | Lighter cabinet, standard window bracket, basic side panels | Small bedrooms and single-room cooling where the window frame is in good condition |
| Mid-range | Heavier cabinet, reinforced bracket recommended, more thorough sealing | Living rooms and larger bedrooms where quiet operation and stable mounting matter |
| Premium | Deeper cabinet, heavy-duty support frame, careful leveling for vibration control | Open-plan spaces and rooms where long run times and low noise are priorities |
| High-end tier | Professional-grade bracket, dedicated circuit verification, precise tilt calibration | Whole-floor cooling with a single high-capacity unit and strict comfort expectations |
As a rule, mid-range and premium models reward careful installation more than entry-level units because their compressors and fans are designed for longer, quieter run cycles. A solid bracket and tight sealing help those benefits show up in daily use.
Common Installation Mistakes to Avoid
Even a well-chosen unit underperforms if the installation has gaps. These are the mistakes professional installers most often correct:
- Skipping the support bracket. Relying on the window sill alone stresses the frame and can let the unit shift over time.
- Installing with the wrong tilt. A unit that tilts inward traps water; one that tilts too far outward can stress the compressor and reduce cooling.
- Leaving side gaps unsealed. Unsealed accordion panels are a common source of drafts and energy waste.
- Using an extension cord. High-draw appliances should plug directly into a properly rated outlet.
- Ignoring the outdoor clearance. Blocked condenser airflow reduces efficiency and can shorten the unit's life.
- Not testing drainage. A quick test run reveals whether condensation flows outward as intended.
If a unit is already installed and not cooling as expected, the troubleshooting overview on quick fix for AC not blowing cold air covers the most common causes before you call for service.
Post-Installation Maintenance
Professional installation sets the unit up for reliable performance, and a small maintenance routine keeps it that way:
- Clean or replace the air filter every two to four weeks during heavy use.
- Check the outdoor side of the unit for leaves, pollen, and debris.
- Inspect the window seal at the start of each cooling season.
- Listen for new vibration or rattling, which can indicate a loosened bracket or sash.
- Confirm the drain path stays clear after storms or heavy humidity.
When you are ready to compare specific models for your room, the recommendations section organizes units by room size and feature set so you can match a tier to your installation plan.
Frequently Asked Questions
How long does a professional window AC installation take?
A standard single-room installation usually takes one to two hours, including bracket mounting, sealing, and a test run. Larger units or custom window configurations may take longer.
Do I need a special bracket for professional installation?
For most mid-range and heavier units, yes. A heavy-duty bracket distributes weight safely and keeps the unit stable, which supports both safety and quiet operation.
What electrical requirements matter most?
Voltage match, a dedicated circuit, correct breaker and wire capacity, and GFCI protection near the outlet. The installer verifies these before powering the unit.
Can professional installation improve energy efficiency?
Yes. Proper sealing, correct tilt, and stable mounting reduce air leaks and prevent the compressor from overworking, which supports more consistent cooling and lower energy use over time.
Can I install a window AC myself?
Some homeowners install lighter entry-level units themselves. However, heavier units, upper-floor windows, and uncertain electrical setups are safer and more effective with professional installation.
Ready to Choose the Right Window Unit?
Compare feature sets, capacity ranges, and tier options before you schedule installation.
Explore Window AC OptionsRecommended Window Air Conditioners for Professional Installation
⚠️ AFFILIATE DISCLOSURE: This website contains affiliate links. As an Amazon Associate, we earn from qualifying purchases. If you make a purchase through these links, we may receive a small commission at no additional cost to you. Read our full affiliate policy.
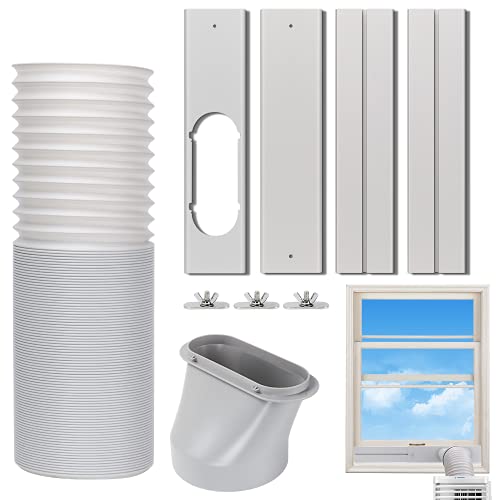
Portable AC Window Vent Kit, Sliding Window AC Seal Kit 5.9" Exhaust Hose | No Coupler, Exhaust Hose Length 59", Plates 17-64", Universal Air Conditioner Window Seal Kit for Horizontal/Vertical Window
Check price on Amazon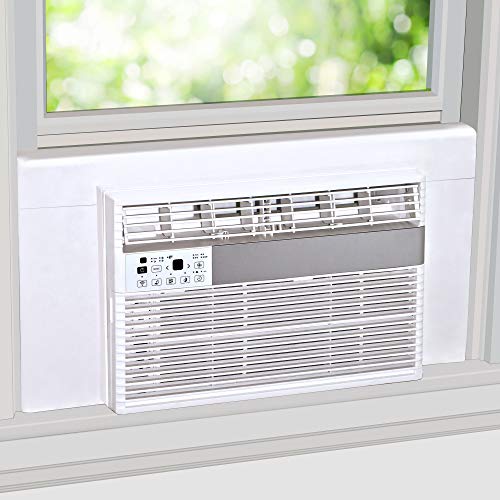
Breeze Stop Surround Insulation Side Panels White for Window AC Unit Indoor Air Conditioner Cover for Winter and Summer
Check price on Amazon
ROVSUN 8000 BTU Air Conditioner Window Unit with Heat, 4-in-1 Window AC Unit Cooler, Heater, Dehumidifier & Fan with Timer, Remote Control & Installation Kit for Rooms up to 350 Sq. Ft, 115V/60Hz
Check price on Amazon
Frigidaire 5,000 BTU Window-Mounted Air Conditioner, Cools Up to 150 Sq. Ft., Quiet Operation, Effortless Temperature Control, 2 Fan Speeds, Auto Restart, White
Check price on Amazon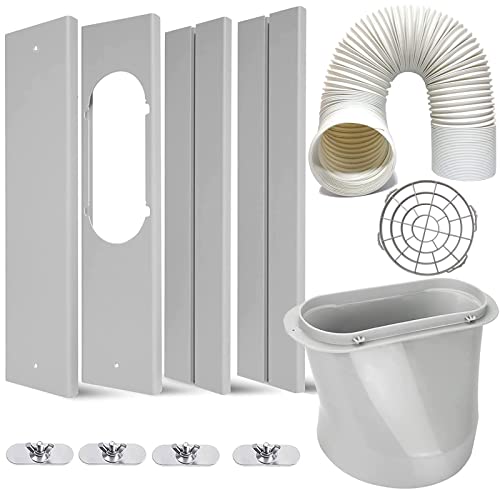
LEZIFU Portable Air Conditioner Kit with Hose, Adjustable Window Seal with 5.9 Inch Diameter 59" Length Hose for Vertical/Horizontal Window
Check price on Amazon