Window Air Conditioner Installation Service
Everything you need to know before booking a professional window AC installation: what the service covers, how to prepare your window, safety brackets, sealing, electrical checks, and when DIY is a reasonable option.
Explore the GuideA window air conditioner is one of the most practical cooling solutions for apartments, older homes without ductwork, and single rooms that need targeted comfort. But the difference between a unit that runs quietly for years and one that rattles, leaks, or wastes energy usually comes down to installation quality. A professional window air conditioner installation service handles the details that most people overlook: correct bracket support, a tight window seal, proper slope for drainage, and verification that the electrical circuit can safely carry the load.
This guide is written for research-stage buyers who already know which type of unit they want but are unsure whether to install it themselves or hire a service. You will learn what a professional installer actually does, how to compare service tiers, which safety factors matter most, and how to prepare your home so the appointment goes smoothly. If you are still comparing unit types, our overview of air conditioner types is a good starting point before you commit to a window model.
What a Window AC Installation Service Typically Covers
Installation services vary by provider, but most professional appointments include a consistent core set of tasks. Understanding these steps helps you compare quotes fairly and spot a low-effort job before it becomes a problem.
Site & Window Assessment
The installer checks the window type, frame condition, sill level, and whether the unit's weight can be supported safely. Upper-floor and casement windows often need special brackets or a different mounting approach.
Bracket & Support Mounting
Exterior support brackets are installed so the unit's weight rests on the bracket rather than the window sash. This is the single most important safety step for heavy units and upper-floor installations.
Unit Placement & Slope
The unit is seated with a slight outward tilt so condensate drains away from the room. Incorrect slope is a common cause of water intrusion and premature failure.
Sealing & Weatherproofing
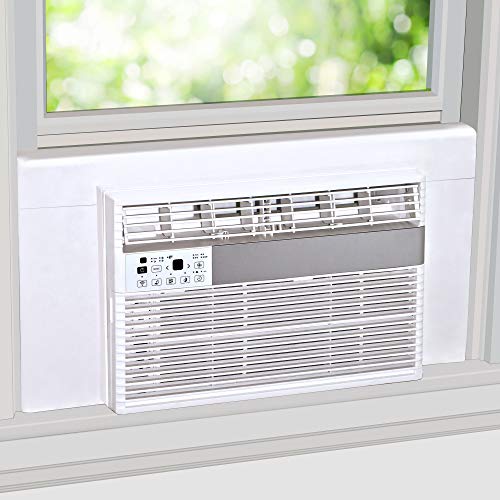
Side panels, foam insulation, and weather stripping are fitted to close gaps. A tight seal keeps hot air out and stops cooled air from escaping, which directly affects efficiency.
Electrical Verification
The installer confirms the outlet is on a dedicated circuit rated for the unit's amperage, checks the plug and cord, and flags any need for a GFCI or a higher-capacity circuit.
Test Run & Handover
The unit is powered on, airflow and cooling are verified, drainage is checked, and the installer explains filter access, seasonal removal, and basic maintenance.
DIY vs Professional Installation: How to Decide
Not every installation needs a technician, but some situations clearly benefit from one. Use the comparison below to match your situation to the right approach.
| Factor | DIY Is Reasonable | Professional Service Is Advised |
|---|---|---|
| Unit weight | Lightweight entry-level unit | Heavy mid-range or premium unit |
| Floor level | First floor or ground-level window | Second floor or higher |
| Window type | Standard double-hung sash | Casement, sliding, or irregular frame |
| Electrical circuit | Known dedicated outlet, correct amperage | Uncertain wiring or older panel |
| Building rules | No HOA or historic restrictions | HOA, rental, or historic district rules apply |
| Time & tools | You have a drill, level, and a helper | No suitable tools or limited mobility |
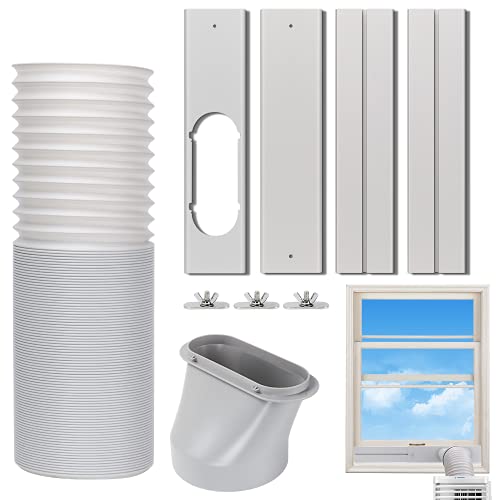
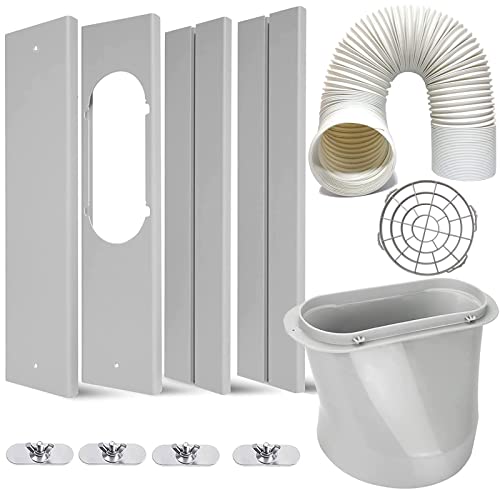
If your window is an unusual shape, a side-sliding model may be the better fit. Our guide to a window unit air conditioner for side sliding windows explains the kits and mounting differences. For standard sash windows, the main risk is skipping the exterior bracket, which is where a professional service earns its keep.
The Installation Process, Step by Step
Whether you hire a service or do it yourself, the sequence below reflects how a proper installation should unfold. Use it as a checklist when reviewing a provider's scope of work.
- Measure the window and the unit Confirm the window opening width and height match the unit's chassis dimensions, and check that the window sash can close against the unit's top seal.
- Inspect the electrical outlet Verify the outlet is grounded, within reach of the cord without an extension cord, and on a circuit rated for the unit's amperage.
- Install the exterior support bracket Mount the bracket to the exterior wall or window frame per the manufacturer's instructions. This carries the unit's weight and prevents it from tipping outward.
- Seat the unit with correct slope Place the unit so the rear is slightly lower than the front, allowing condensate to drain outside rather than into the room.
- Close and lock the window sash Lower the sash into the unit's top channel and secure it with the provided lock or a sash lock to prevent opening.
- Seal the sides and gaps Fit the accordion side panels, add foam insulation where needed, and seal any remaining gaps with weather stripping.
- Test cooling and drainage Run the unit, confirm cold air output, check for vibration, and verify water drains outside rather than pooling in the window frame.
If the unit runs but does not produce cold air after installation, the cause is usually unrelated to the mounting. Our troubleshooting guide on a window air conditioner not blowing cold air but running walks through the common causes, from filter blockage to refrigerant issues.
Safety Factors That Matter Most
Window units combine weight, electricity, and water, which is why installation safety deserves more attention than it usually gets. A professional service should address all four points below.
Weight Support
Modern mid-range and premium units are heavier than older models. An exterior bracket or a properly rated window mount is essential, especially above the first floor.
Electrical Safety
Window units draw significant current at startup. A dedicated circuit and a grounded outlet prevent tripped breakers and reduce fire risk. Never use a standard extension cord.
Secure Window Lock
An unsecured sash can be opened from outside. Installers fit a sash lock or a through-the-frame pin so the window cannot be forced open around the unit.
Water Drainage
Correct outward slope and clear drain channels prevent water from pooling in the window frame and damaging the sill or interior wall.
How to Prepare for the Appointment
A little preparation shortens the appointment and helps the installer work efficiently. Before the service arrives:
- Clear the window area Move furniture, blinds, and curtains away from the window so the installer has full access to the frame and sill.
- Have the unit and manual ready Keep the unit in its box with the manual and mounting hardware accessible. The manual specifies bracket type and clearance requirements.
- Confirm the outlet location Know which outlet the unit will use and whether it is on a dedicated circuit. Mention any prior breaker trips.
- Check building rules in advance If you rent or live in an HOA or historic district, confirm approval before the appointment to avoid a wasted visit.
- Plan for seasonal removal Ask the installer to show you how to remove and reinstall the unit for the off-season, or whether they offer a seasonal service.
Understanding Service Tiers
Installation services are usually offered in tiers that reflect the complexity of the job and the level of protection included. Rather than comparing quotes on headline numbers alone, compare what each tier includes.
| Tier | Best For | Typical Inclusions |
|---|---|---|
| Essential tier | First-floor, standard sash window, lightweight unit | Basic placement, side panel sealing, test run |
| Balanced tier | Mid-range unit, second floor, or older frame | Exterior bracket, weather sealing, electrical check, sash lock |
| Top-tier / professional-grade | Heavy premium unit, upper floor, HOA or historic facade | Custom bracket, full weatherproofing, circuit verification, seasonal removal service |
For a deeper look at how unit features affect installation complexity, the comparison between inverter AC and normal AC is useful, since inverter models are often heavier and benefit from professional mounting.
After Installation: Keeping the Unit Efficient
A good installation is the beginning of efficient operation, not the end. Two habits make the biggest difference: regular filter cleaning and an annual check of the seal and bracket.
Clean or replace the filter every few weeks during peak season. A clogged filter strains the compressor and reduces cooling. Our guide on how to clean the coils of an air conditioner covers the deeper seasonal maintenance that keeps airflow strong. If the unit ever stops cooling entirely, a window air conditioner repair guide can help you decide whether the issue is a simple fix or needs a technician.
For homeowners planning a broader upgrade, window units are often a stepping stone toward ducted or ductless systems. Our overview of energy-efficient HVAC systems explains when it makes sense to move from a single-room solution to a whole-home approach.
Frequently Asked Questions
Is professional window air conditioner installation service worth it?
It is worthwhile for heavy units, upper-floor windows, and homes with uncertain wiring. A professional handles the bracket, sealing, and electrical verification that prevent safety issues and energy loss. For a light unit on a first-floor standard sash window, a careful DIY installation is a reasonable alternative.
How long does a window AC installation take?
A straightforward first-floor installation usually takes one to two hours. Upper-floor units, custom brackets, or electrical upgrades can extend the appointment to half a day.
Do I need a permit for window AC installation?
Most municipalities do not require a permit for a standard window unit, but some HOAs and historic districts have rules. Confirm with your local building department and your HOA before the appointment.
Can a window air conditioner be installed in a sliding window?
Yes, but it needs a side-sliding window kit or a different mounting approach. Standard double-hung sash windows are the simplest to work with for most units.
What electrical requirements does a window AC need?
Smaller units often run on a standard 110V dedicated circuit, while larger models may need a 220V circuit. A licensed installer should verify the circuit can handle the unit's amperage before installation.
Ready to Choose Your Window Unit?
Once you understand the installation, the next step is picking the right capacity and features for your room. Browse our curated window air conditioner recommendations below.
View Recommended Units