Window Air Conditioner Leaking Water Inside
Find out why your window AC drips indoors, which causes are safe to fix yourself, and how to stop the leak for good before it damages walls, flooring, or electrical parts.
Quick diagnosis: If water is pooling on the sill, running down the wall, or dripping onto the floor, the cause is almost always one of five things — incorrect tilt, a clogged drain hole, a dirty filter, a frozen coil, or a damaged drain pan. The good news is that most interior leaks are simple to correct without replacing the unit.
How a Window AC Handles Water
A window air conditioner removes humidity from the room air. That moisture condenses on the cold evaporator coil, drips into a shallow drain pan, and is meant to exit through a drain hole at the rear of the unit. On most models, the fan slinger ring also flings some condensate onto the hot condenser coil to help cool it and improve efficiency.
The system only works when the chassis is tilted slightly toward the outdoors. If the unit sits level, slopes inward, or the drain hole is blocked, water has nowhere to go except back into the room. That is the core reason a window air conditioner leaking water inside is so common — and why proper installation angle matters more than any single component.
The 7 Most Common Causes
1. Wrong Tilt or Level Installation
The unit is level or sloping toward the room, so condensation cannot drain out the back.
2. Clogged Drain Hole
Dirt, insects, or debris block the rear drain port, and water backs up into the pan.
3. Dirty Air Filter
Restricted airflow lowers coil temperature, causing heavy condensation that overwhelms drainage.
4. Frozen Evaporator Coil
Ice builds up, then melts rapidly and overflows the drain pan into the room.
5. Cracked or Displaced Drain Pan
A rusted or shifted pan lets water bypass the drain path entirely.
6. Poor Window Seal
Gaps let humid outdoor air hit the cold chassis, creating extra condensation inside the frame.
7. Low Refrigerant or Airflow Fault
Undercharged systems and blocked vents can freeze the coil, producing meltwater leaks.
Step-by-Step Fixes You Can Do Yourself
Before starting, switch the unit off and unplug it, or turn off the circuit breaker. Water and electricity are a dangerous combination.
- Check the tilt. Place a spirit level on the top of the chassis. The rear should sit roughly 1/4 to 1/2 inch lower than the front. Adjust the mounting bracket or add a shim until it does.
- Clear the drain hole. Remove the unit or reach the rear drain port and poke through it with a stiff wire or pipe cleaner. Flush with a little water to confirm flow.
- Clean or replace the filter. Rinse the filter under lukewarm water, let it dry fully, and reinstall. A clogged filter is one of the most overlooked causes of excess condensation.
- Thaw a frozen coil. If you see ice, run the unit in fan-only mode or turn it off until the ice melts. Then clean the filter and inspect for airflow blockages.
- Inspect the drain pan. Look for cracks, rust-through, or a pan that has slid out of position. Replace a damaged pan before running the unit again.
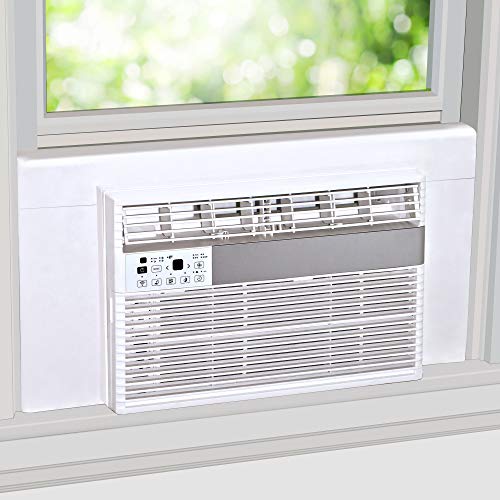
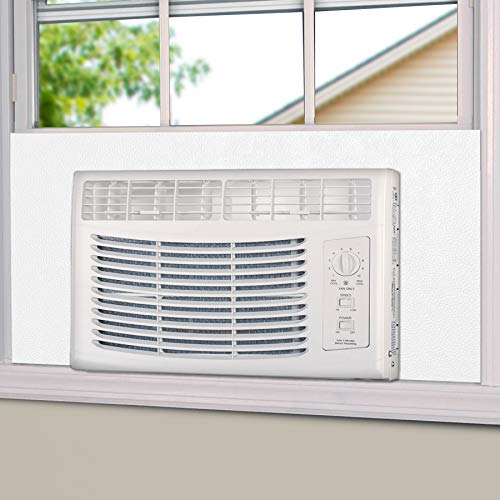
- Reseal the window opening. Add foam weatherstripping or the side panels supplied with the unit so humid air cannot enter around the chassis.
If the coil is damaged, refrigerant is low, or the pan is cracked beyond repair, stop and call a qualified HVAC technician. These are not safe DIY repairs.
Prevention Checklist
| Task | Frequency | Why It Matters |
|---|---|---|
| Verify rear-downward tilt | At installation and each season | Ensures condensation exits outdoors, not into the room |
| Clean the air filter | Every 2–4 weeks in peak season | Maintains airflow and prevents coil freeze-up |
| Clear the drain hole | Monthly during use | Stops water backup in the drain pan |
| Inspect the drain pan | Twice per season | Catches cracks and rust before they leak indoors |
| Check window seals | Start of cooling season | Reduces humid air intrusion and extra condensation |
Owners who follow this routine rarely deal with interior leaks. If your unit has a history of dripping, consider a model with a more robust drainage design — our guide to window AC units that don't drip water explains what to look for.
When to Repair vs. Replace
Most leaks are maintenance issues, not signs that the unit is failing. However, if the chassis is rusted through, the drain pan is structurally damaged, or the coil has a refrigerant leak, repair may not be sensible. A unit that is more than a decade old and leaking from multiple points is usually a candidate for replacement.
If you are still shopping, our overview of the window air conditioner category covers sizing, efficiency ratings, and installation requirements. For rooms where the unit must fit a specific opening, see options for window air conditioners for small window openings and vertical sliding window models. Those with unusual window types can compare sideways window units and crank-out window solutions.
Frequently Asked Questions
Why is my window AC leaking water inside after I just installed it?
New installations usually leak because the unit is level or tilted slightly inward. Recheck the tilt — the rear should sit about 1/4 to 1/2 inch lower than the front — and confirm the drain hole is open.
Can a dirty filter cause water to leak inside?
Yes. Restricted airflow makes the evaporator coil run colder than designed, which produces heavy condensation and can freeze the coil. When the ice melts, the drain pan overflows into the room.
Is the water from a window AC safe to touch?
The condensate itself is essentially distilled water, but it picks up dust and debris from the coil and pan. It is not harmful to touch, but it should not be ingested and should not be left standing, because it can damage surfaces and encourage mold.
Should I drill an extra drain hole?
No. Drilling additional holes can void the warranty and bypass the designed drainage path. Clear the existing drain port and correct the tilt instead.
How do I know if the leak is from the AC or from rain?
If the leak only appears during humid weather or while the unit is running, it is condensation. If it appears during rain regardless of operation, the window seal or flashing is likely the culprit.
Stop the Drip Before It Spreads
Level the unit, clear the drain, clean the filter, and reseal the window. Those four steps resolve the vast majority of interior window AC leaks — and the maintenance takes less than an hour.
Explore Window AC Guides