Furnace Evaporator Coil Cleaning: A Practical Homeowner Guide
Understand why the evaporator coil is one of the most important maintenance points in your HVAC system, how to recognize buildup early, and how to clean it safely without damaging the coil or voiding your equipment warranty.
SEE RECOMMENDED CLEANING SUPPLIESQuick summary: The evaporator coil sits above the furnace in a typical split system and is responsible for absorbing heat from indoor air while simultaneously removing humidity. When dust, pet hair, and biological growth coat the coil, the entire system loses efficiency. Regular cleaning protects cooling performance, reduces strain on the compressor, and helps keep indoor air quality healthy.
⚠️ Safety first: Turn off the system at the thermostat and, more importantly, at the breaker before opening any access panel. The evaporator coil is connected to refrigerant lines that operate under pressure, and some components nearby carry high voltage. If you are uncomfortable with any step, stop and call a licensed technician. Our guide on working with an HVAC repair technician explains what to expect from a professional visit.
What the Evaporator Coil Does
In a split central air system, the furnace houses the blower and the evaporator coil. Warm indoor air is pulled through the return ducts, passes across the cold evaporator coil, and is delivered back into the home through the supply ducts. The coil absorbs heat from the air and, in the process, condenses moisture from it. That moisture drips into the drain pan and exits through the condensate line.
Because the coil is constantly exposed to moving air and moisture, it is the ideal place for dust, lint, and microbial growth to accumulate. Even a thin layer of buildup acts as insulation, preventing the coil from transferring heat efficiently. That is why coil condition has a direct effect on how well the entire system cools.
If you are still learning how the various indoor components fit together, our guide on furnace and air conditioning service gives a useful overview of routine maintenance across the system.
Signs the Coil Needs Cleaning
Coil fouling develops gradually, so the symptoms usually build over weeks rather than appearing overnight. The following signs are worth acting on:
Reduced Cooling
Rooms take longer to reach the set temperature, or the air from the vents feels less cold than it used to.
Weak Airflow
A dirty coil restricts the flow of air through the system, so supply vents may feel weak even when the blower runs.
Musty Odor
A mildew or damp smell when the system runs often indicates microbial growth on the coil or in the drain pan.
Water Around the Unit
Overflowing drain pans or water pooling near the furnace can result from coil-related condensate issues.
Ice on the Coil
Ice formation on the coil or refrigerant lines frequently indicates restricted airflow from a clogged coil or filter.
Higher Energy Use
A gradual rise in electricity consumption for the same cooling routine is a common early warning.
If you notice several of these symptoms together, the coil is a strong candidate for inspection. Our dedicated troubleshooting guide on fixing an air conditioner covers the broader diagnostic picture if the symptoms do not resolve after cleaning.
Why Coil Cleaning Matters
Coil fouling has three distinct consequences, each of which affects a different part of the system:
- Efficiency loss. A coated coil cannot absorb heat effectively, so the system must run longer to cool the home. That longer runtime increases energy consumption for the same comfort.
- Compressor strain. When the coil cannot shed heat, the compressor works harder and runs hotter. Compressor replacement is one of the most serious HVAC repairs, and repeated strain is a common contributing factor.
- Indoor air quality. Dust and microbial growth on the coil are reintroduced into the airstream. Cleaning the coil is as much an air quality measure as it is a performance one.
If your system has an air purification accessory, a clean coil also helps that accessory work as intended. Our guide on a furnace air cleaner system explains how those components interact with the coil.
DIY Cleaning vs Professional Cleaning
Not every coil cleaning is a homeowner task. The table below clarifies the boundary:
| Task | Safe for Homeowners | Notes |
|---|---|---|
| Replacing the air filter | Yes | The most important step in preventing coil fouling |
| Removing the access panel | Yes, with breaker off | Confirm the panel gasket is intact when reinstalling |
| Visual inspection of the coil | Yes | Use a flashlight to check for dust, mold, or debris |
| Gentle vacuum of visible debris | Yes | Use a soft brush attachment; avoid bending the fins |
| No-rinse coil cleaner application | Yes, with caution | Follow the manufacturer's instructions precisely |
| Removing the coil entirely | No | Requires refrigerant handling and EPA certification |
| Flushing with water indoors | No | Risk of water damage without proper containment |
| Straightening bent fins on the coil | No | Requires specialized fin combs and experience |
If the coil is heavily fouled, bent, or showing signs of physical damage, professional cleaning is the safer path. Our article on furnace cleaning service explains what a professional visit typically covers, without focusing on figures.
Tools and Materials for Safe DIY Cleaning
A successful cleaning starts with the right preparation. The following items are standard for a careful surface cleaning:
What you need
- A clean, dry work area. Clear the space around the furnace so nothing interferes with the process.
- Flashlight or headlamp. The coil is often in a dark plenum, and good lighting is essential for inspection.
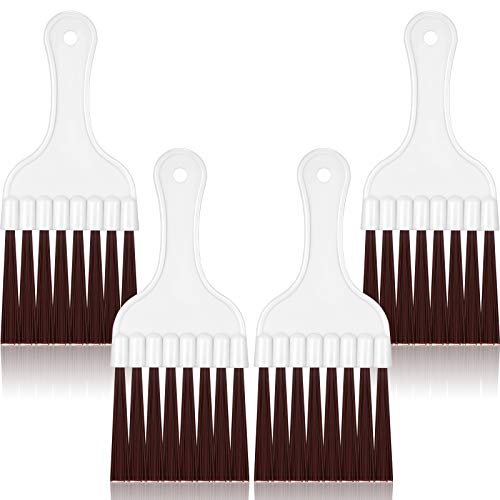
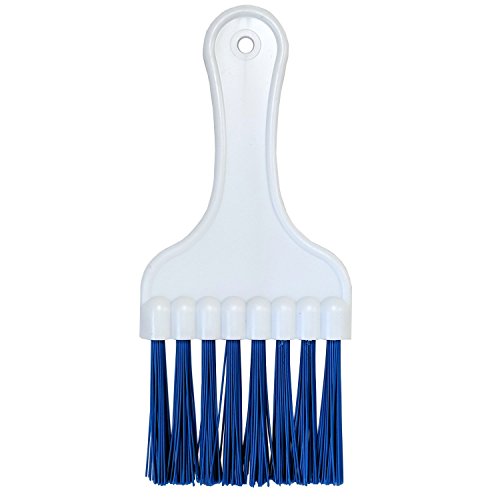
- Soft-bristle brush or vacuum brush attachment. Used to lift loose dust from the coil surface without bending fins.
- No-rinse evaporator coil cleaner. A foam or spray product designed for indoor use. Our guide on coil cleaning is the reference you are reading now; choose products labeled specifically for evaporator coils.
- Nitrile gloves and eye protection. Many coil cleaners are mildly caustic.
- Towels and a shallow tray. To catch drips and protect the surrounding area.
- A spare filter. Never reinstall a dirty filter after cleaning the coil.
Step-by-Step Surface Cleaning Process
The procedure below is intended for routine surface maintenance on an accessible evaporator coil. It is not a substitute for a professional deep cleaning, but it does meaningfully extend the interval between service visits.
Cleaning procedure
- Turn off the system completely. Set the thermostat to "off" and switch off the furnace breaker at the main panel. If the unit has a separate disconnect, switch that off as well. Confirm that the blower does not turn on when the thermostat is adjusted.
- Remove the air filter. This prevents dust from the filter from being drawn back into the coil during cleaning and gives you a clear view of the coil face.
- Locate and remove the coil access panel. Depending on the installation, this may be a dedicated panel on the plenum or an internal panel accessible from the furnace cabinet. Consult your equipment's documentation if the location is unclear.
- Inspect the coil surface. Use a flashlight to check for dust buildup, mold growth, bent fins, and debris such as pet hair. Note the extent of fouling — if the coil is heavily coated, professional service is the better choice.
- Vacuum loose debris gently. Use a soft brush attachment and low suction to lift dust without bending the fins. Work from top to bottom.
- Apply a no-rinse coil cleaner. Following the product instructions exactly, spray evenly across the coil face. No-rinse cleaners are designed to foam, lift contaminants, and drain away with condensate. Do not oversaturate.
- Allow the coil to dry. Most no-rinse cleaners require fifteen to thirty minutes of dwell time. Do not reinstall the panel or run the system before the recommended drying time has elapsed.
- Inspect the drain pan and line. Clear any standing water, algae, or debris from the pan. This is also a good moment to flush the condensate drain line. Our guide on a drip pan for an AC unit in an attic full of water covers what to do if drainage is compromised.
- Reinstall the access panel securely. Verify the gasket is intact. A loose panel is a common cause of air leaks and efficiency loss.
- Install a new filter and restore power. Run the system and confirm normal operation. If airflow is weak or cooling is still poor, the coil may require a professional deep clean.
How Often to Clean the Coil
Cleaning frequency depends on the home environment and how heavily the system runs:
| Home Type | Recommended Interval | Why |
|---|---|---|
| Standard home, no pets | Once per year | Normal dust accumulation is slow in most homes |
| Home with pets | Every 6 to 9 months | Pet hair accelerates coil fouling significantly |
| Dusty environment or recent renovation | Every 3 to 6 months | Construction dust and debris accelerate buildup |
| Heavy year-round use | Every 6 months | More runtime means more dust passes through the coil |
| Home with a smoker or frequent cooking fumes | Every 6 months | Oily residue bonds to the coil surface and traps dust |
Filter replacement is the single most effective way to reduce how often coil cleaning is needed. Our guide on the seasonal AC checklist includes filter intervals that complement the coil maintenance routine described here.
When to Call a Professional
Even with careful DIY maintenance, some situations call for a licensed technician:
- The coil is heavily fouled or coated with a hard film. Deep cleaning may require removing the coil or using rinse-required cleaners with proper containment.
- Fins are bent or crushed. Fin straightening requires specialized combs and careful handling; damaged fins reduce performance permanently if not treated correctly.
- Ice has formed on the coil or refrigerant lines. This suggests airflow restriction or low refrigerant, both of which need proper diagnosis.
- Water is present around the coil or in the plenum. Drainage problems need to be addressed before cleaning to prevent further water damage.
- The system does not cool properly after cleaning. Persistent poor performance may indicate refrigerant, compressor, or control issues beyond the coil.
If any of these apply, our guide on finding HVAC repair in your area explains how to locate a qualified professional quickly, and our article on HVAC service companies covers how to evaluate them before booking.
Related Maintenance Worth Pairing with Coil Cleaning
Coil cleaning is most effective when done alongside a handful of related tasks. If you are already working on the system, these are worth including in the same session:
- Duct inspection and sealing. Leaky ducts deliver dust-laden air directly to the coil. Our guide on ductwork design explains what a properly sealed system looks like.
- Blower inspection. A dirty or failing blower can restrict airflow just as effectively as a dirty coil. Our article on HVAC blower fan replacement covers what to look for.
- Thermostat review. Confirming the thermostat is calibrated correctly ensures the system is running as intended. A mis-calibrated electronic home thermostat can mimic performance issues.
- Filter upgrade. A higher-MERV filter captures more particles before they reach the coil, extending cleaning intervals when the filter is replaced on schedule.
For whole-system efficiency considerations, our guide on the most efficient way to heat and cool a house provides a broader framework.
Ready to Stock Your Coil Cleaning Kit?
Explore our curated selection of no-rinse coil cleaners, filter upgrades, and maintenance tools for safe, effective evaporator coil upkeep.
VIEW RECOMMENDED SUPPLIESFrequently Asked Questions
In most homes, the evaporator coil should be inspected and cleaned once a year, ideally before the cooling season. Homes with pets, high dust levels, or heavy year-round use may benefit from a cleaning every six months. Between professional cleanings, replacing the air filter regularly dramatically slows coil fouling.
Light surface cleaning is feasible for careful homeowners: removing the access panel, gently vacuuming visible debris, and applying a no-rinse coil cleaner. However, deep cleaning that requires removing the coil, flushing the drain pan, or working around refrigerant lines should be handled by a licensed technician, since refrigerant handling and coil removal carry real risk.
The most common signs are reduced cooling capacity, weak airflow from the vents, a musty or mildew smell when the system runs, water pooling around the indoor unit, ice forming on the coil or refrigerant lines, and a noticeably higher energy consumption than in previous seasons.
A dirty coil restricts heat exchange and airflow. The system must run longer to reach the set temperature, which increases energy use and puts constant strain on the compressor. Over time, that strain shortens the life of the equipment, and in severe cases the compressor can fail entirely, which is one of the costliest HVAC repairs.
Yes. Coil cleaning focuses on the evaporator coil and the immediate drain pan area, while duct cleaning addresses the ductwork that distributes air through the home. They are related maintenance tasks, but one does not replace the other. A dirty coil is often a sign that ductwork should be inspected too.
For DIY surface cleaning, no-rinse coil cleaners are the safer choice because they do not require flushing with water in an indoor environment. Rinse-required cleaners are typically used by technicians with proper drainage and containment. Always follow the manufacturer's instructions and never introduce water into areas where drainage is not confirmed.
Improper DIY cleaning can, in some cases, affect warranty coverage — particularly if the coil or nearby components are damaged in the process. Routine surface maintenance using products labeled for evaporator coils, with the system powered off and no aggressive scrubbing, is generally safe. However, always check your equipment documentation and, if in doubt, consult a licensed technician before proceeding.